How to Paint Artificial Flowers with Acrylic Paint
How to Paint Artificial Flowers
This is how I learned how to paint artificial flowers with acrylic paint. I have always loved fresh flowers and used to buy a bunch every week at a little stand at the Metro to decorate my apartment when I lived in Downtown Bethesda. I have been told that the longer you live in the DC area, the worse your allergies will become. Whether this is true or not, it seems to be the case with me. Now if I put fresh flowers in my house, I soon will get a sinus headache and the vase filled with flowers ends up in the garage. My solution is displaying fabric flowers and I also incorporated them into many of my designs.
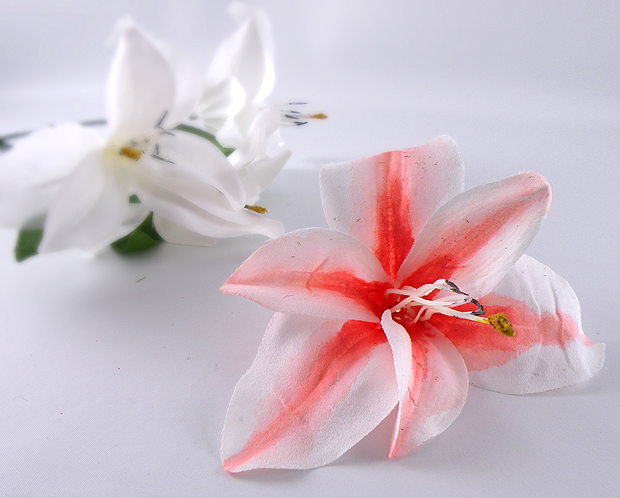
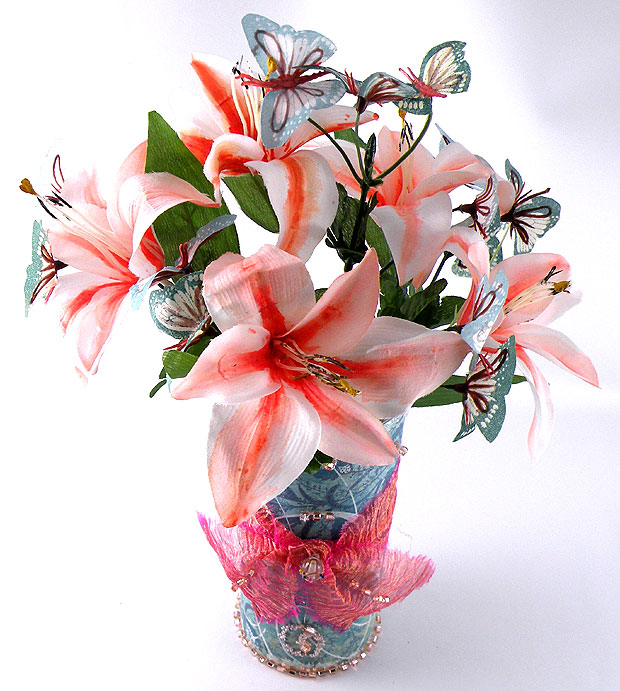
Fabric flowers can get expensive and do not always come in the colors I would like. I wanted to display some coral-colored blooms for Easter so I thought I would try painting them myself. I always wondered how to paint fake flowers so I bought some white lilies from Dollar Tree. I figured that if I wasn’t happy with the result, I only spend a dollar. I mixed some acrylic paint colors in the color I wanted to try and began to paint. My Easter Lilies came out exactly how I wanted them to look. I am so pleased with the new technique for how to paint artificial flowers that I will be buying inexpensive flowers and painting them more often.
The butterflies are also from Dollar Tree and I painted the brown plastic bodies the same coral color.
Materials for How to Paint Artificial Flowers
- Inexpensive White Fabric Flowers (I bought these from Dollar Tree)
- Acrylic Paint
- Small Paint Brush
Materials for the DIY Decorative Vase
- Glass Vase or cardboard cylinder
- Scrapbooking Paper
- Beads
- Small Piece of Fabric or Ribbon
- Craft Glue
Amazon Associates Disclosure
www.GinaTepper.com is a participant in the Amazon Services LLC Associates Program, an affiliate advertising program designed to provide a means for sites to earn advertising fees by advertising and linking to Amazon.com.
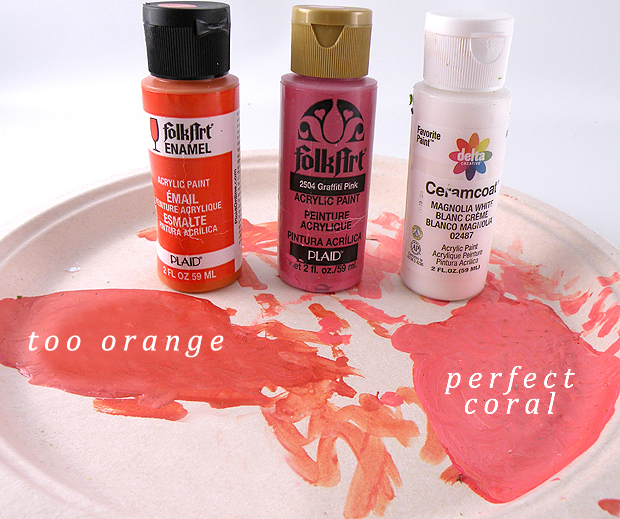
I didn’t have coral-colored paint so I mixed some pink, orange, and a drop of white paint on a paper plate to get my desired color. I had to keep playing with the amount of pink and white I needed to get the hue that I wanted. My first batch was way too orange.
Step 1: Pull the fabric flowers off of the stem so they are easier to paint. Fabric flowers usually are easy to remove and reattach. Don’t remove them if they have to be cut off of the stem.
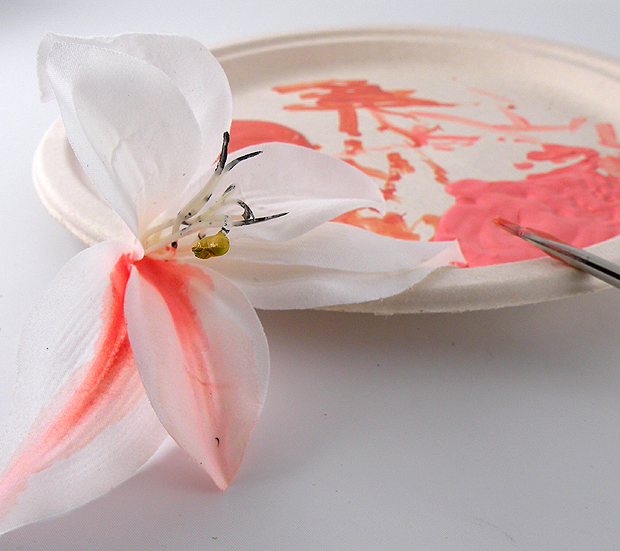
Step 2: Lightly dip the paintbrush in the paint so you don’t have much on the brush. It is better to build the color gradually.
Step 3: Begin painting the center of the flower. The inside of the flower should be the darkest and fade out towards the ends.
Step 4: Fill a plastic cup with about 1/4 inch of water. Wet your paintbrush and soften the color of the paint, blending it towards the end of each petal as shown above.
Step 5: Continue painting all of the flowers until you have finished your bouquet. Put the flowers back on the stem once they dry.
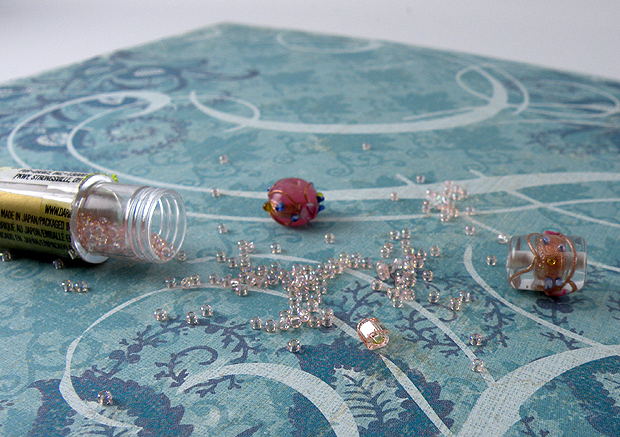
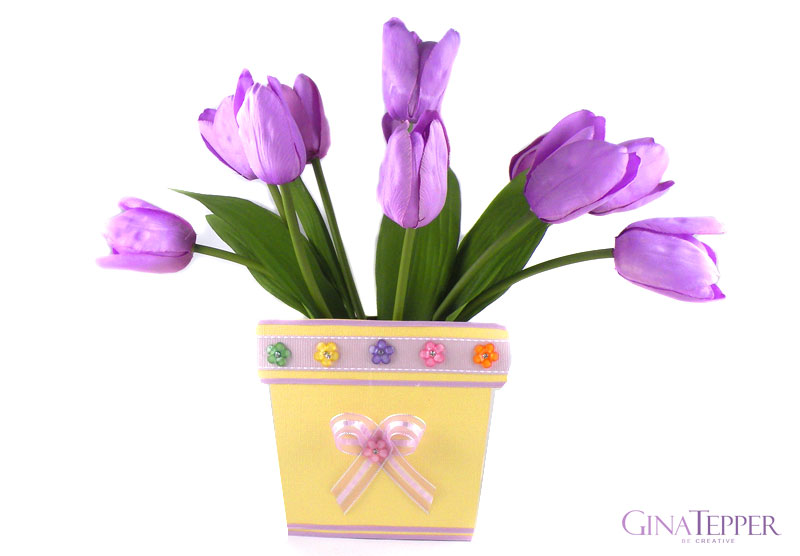
Step 6: Using craft glue, cover the glass vase with scrapbooking paper, use a piece of fabric or ribbon for a bow and add beads to different parts of the scrapbooking paper and bow to give the vase more texture and dimension.
Now you have a beautiful vase of custom-painted Easter Lilies with my technique for how to paint artificial flowers.

