New Year’s Gift Designs
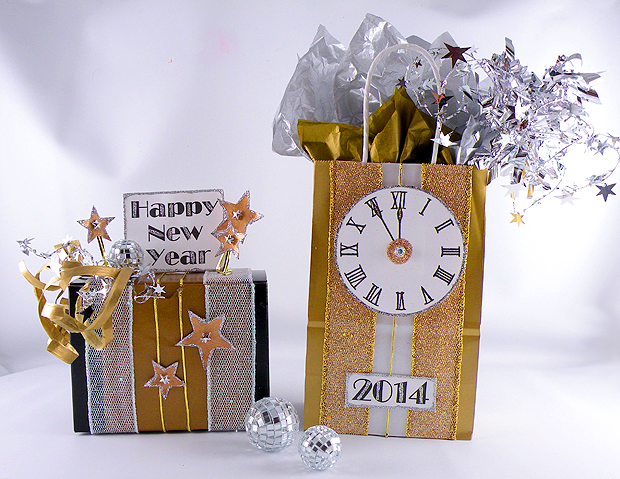 I love New Year’s Eve! To me it is a celebration of both the past year’s events and the journey I will encounter in the coming year. I used to get all dressed up and hit the town but now I prefer to ring in the New Year at home, whether it is with friends or a quiet, low key celebration. In my usual fashion, I love cook amazing food, decorate and of course get decked out to make my holiday festive . I also love to give gifts on New Year’s Eve just because it is such a happy occasion. Here are some of my New Year’s Gift Designs I created for Nashville Wraps. These would make perfect favor or hostess gifts for your New Year’s Eve celebration.
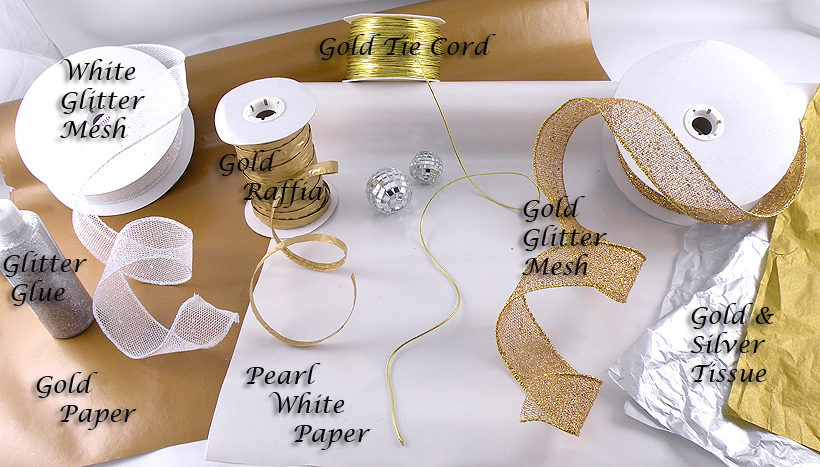
Materials Used
- Gold Gift Wrap
- Pearl White Gift Wrap
- White Glitter Mesh
- Gold Glitter Mesh
- Gold Raffia
- Gold and Silver Tissue Paper
- Gold Tie Cord
- Glitter Glue
- Gold Gift Bag
- Gold Twist Ties
- Small Disco Balls
Instructions for the New Year’s Gift Bag Design
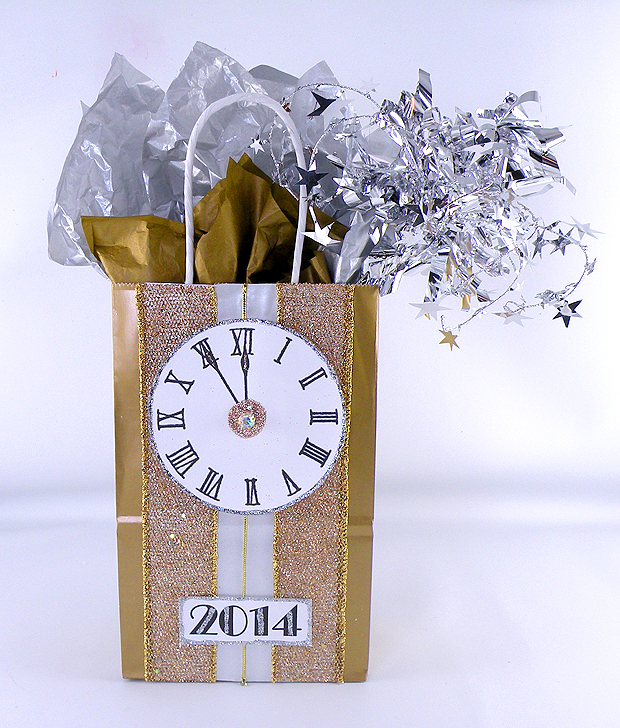
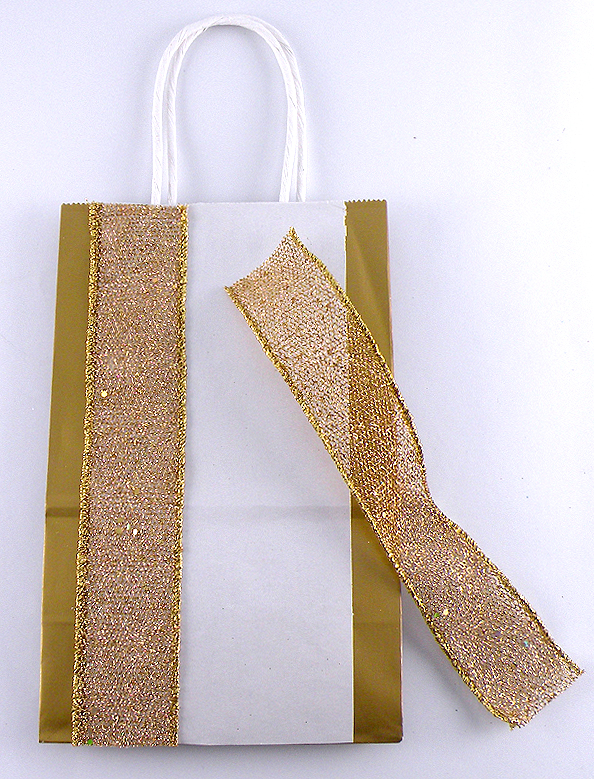
Step 1: Cut a piece of the Pearl White Gift Wrap 1 inch smaller than the width of the front of the gift bag.
Step 2: Attach the wrapping paper centered on the front of the gift bag and glue two pieces of Gold Glitter Mesh to each side of the paper.
Step 3: Print out a clock, Happy New Year and 2014 on cardstock and decorate with glitter and glitter glue.
Step 4: Attach the clock and 2014 to the front of the gift bag with craft glue. Save the Happy New Year for the gift box.
Step 5: Fill with Gold and Silver Tissue Paper and accent with tinsel fireworks (instructions can be found here).
Instructions for the New Year’s Gift Box Design
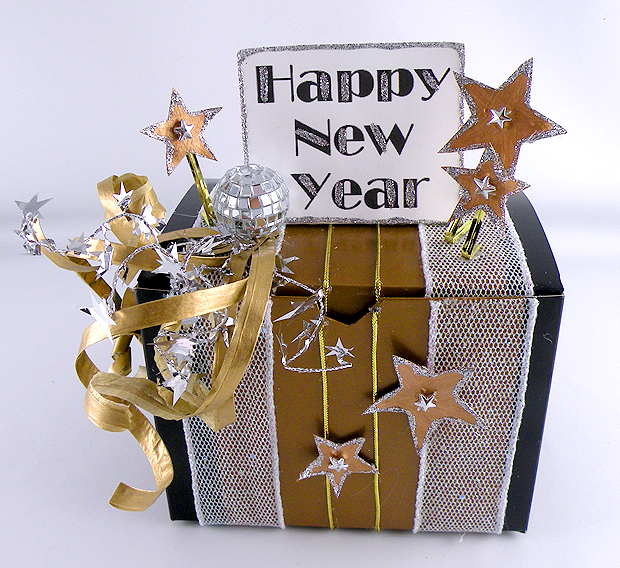
 Step 1: Cut a piece of the Gold Gift Wrap 1 inch smaller than the width of the front of the gift box.
Step 2: Attach the wrapping paper centered on the front of the gift box and glue two pieces of White Glitter Mesh to each side of the paper.
Step 3: Print out different sized stars and decorate with gold paint and glitter glue.
Step 4: Glue stars the end of the Gold Twist Ties.
Step 5: Attach the Happy New Year, disco ball and strands of Gold Raffia to the top of the box.
Step 6: Bend the end of the Twist Ties and glue then to the top of the box to lift them off of the box.

