How to Make Beautiful Milk Carton Vases
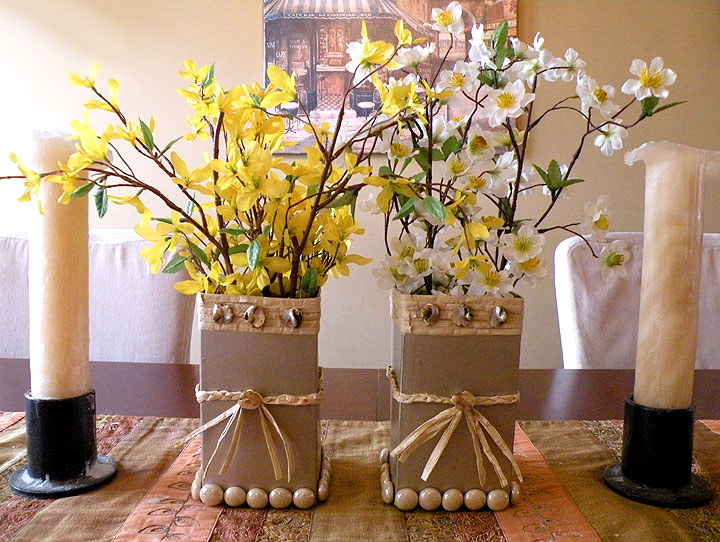
Learn how to easily make beautiful DIY Milk Carton Vases. There are so many amazing and useful things you can create with stuff you probably already have around your house.
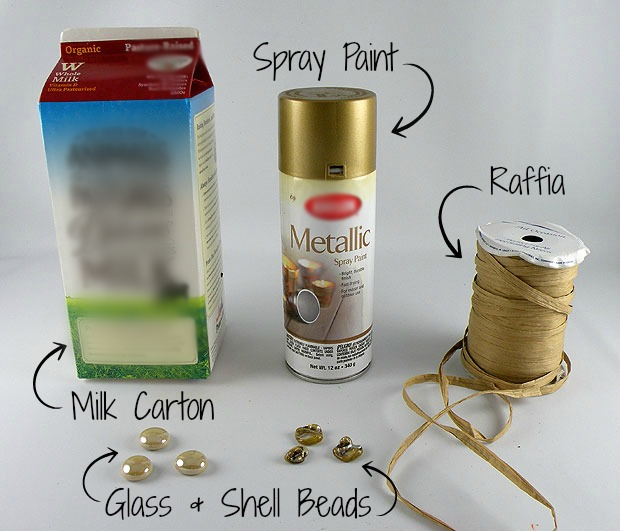
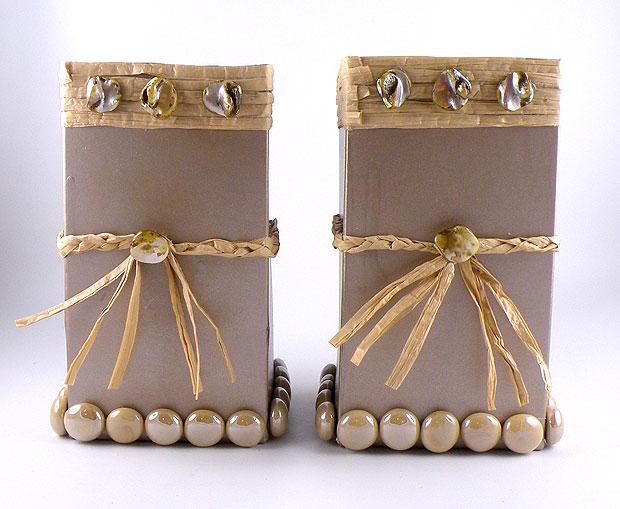
One day when I was tossing milk cartons into the recycle bin it occurred to me that I could create beautiful and natural-looking vases out of these empty milk cartons. I washed them out and cut them to size. I then painted them and accented them with raffia and beads. I think they look super cute and I don’t think anyone would know that they are DIY recycled milk carton craft unless you told them. This makes a great Spring decoration and Earth Day craft idea!
It is easy to make these recycled milk carton vases and here’s how.
Instructions for the Recycled Milk Carton Vases
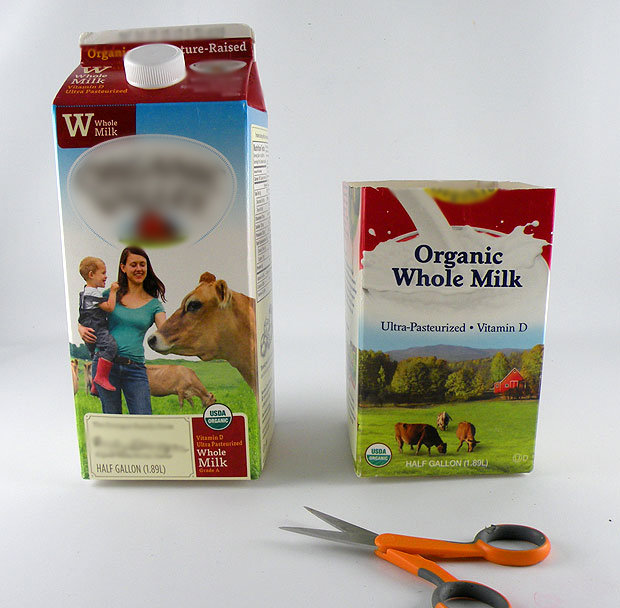
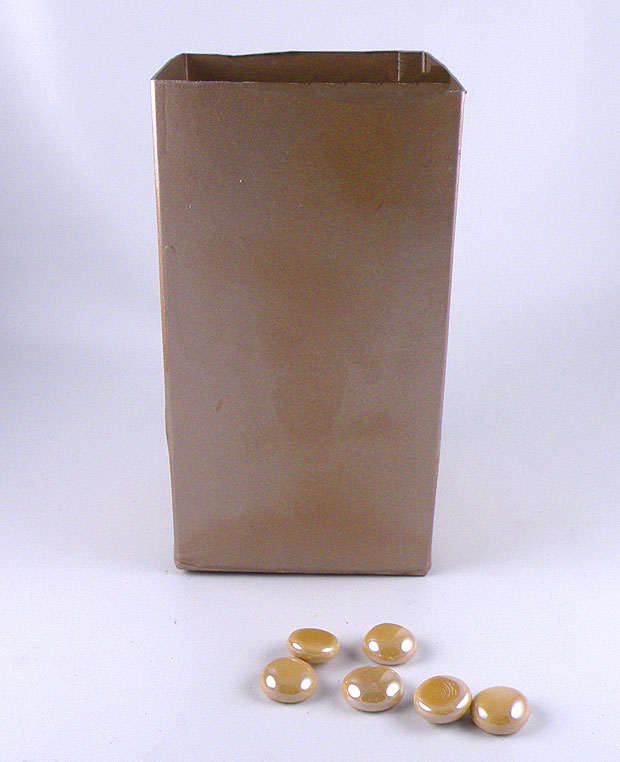
Step 1: Cut the milk carton to the desired size of the vase.
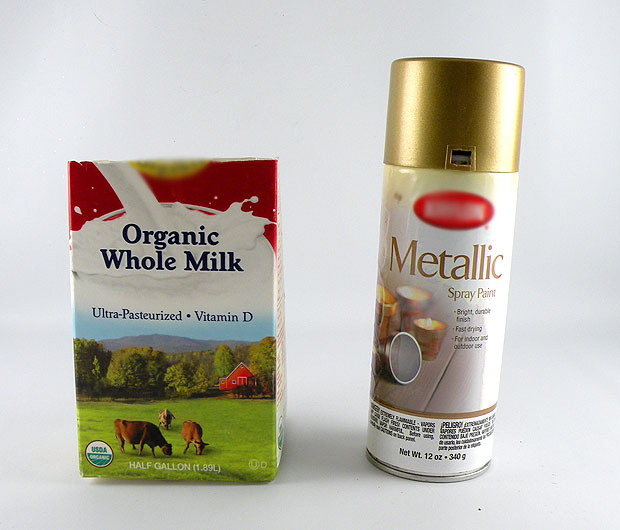
Step 2: Spray Paint the milk carton and let dry. Repeat with a second coat of paint.
Step 3: Glue glass beads onto the bottom edge of the milk carton.
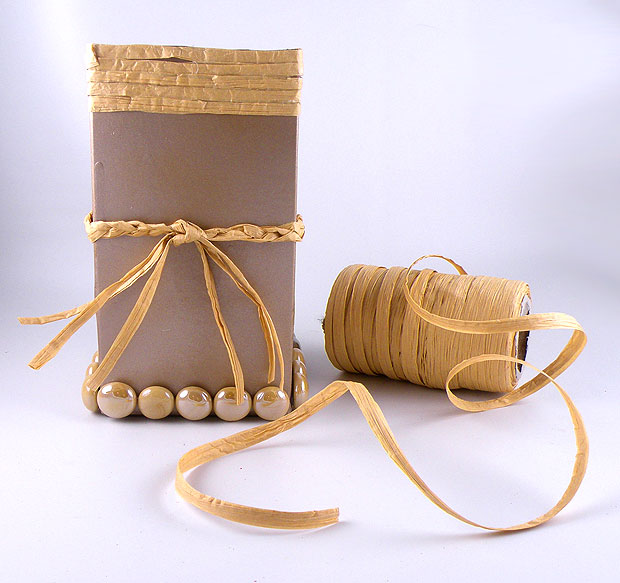
Step 4: Cut 5 strips of raffia the length to wrap around the top of the vase plus 1/4 inch overlap.
Step 5: Glue each strip of raffia to the top of the carton with craft glue as shown above, overlapping the ends.
Step 6: Braid raffia and tie around the center of the carton. Tie in a knot and secure with glue. Trim tails to matching lengths.
Step 7: Glue shell beads to the front of the vase over the raffia and the knotted braid.
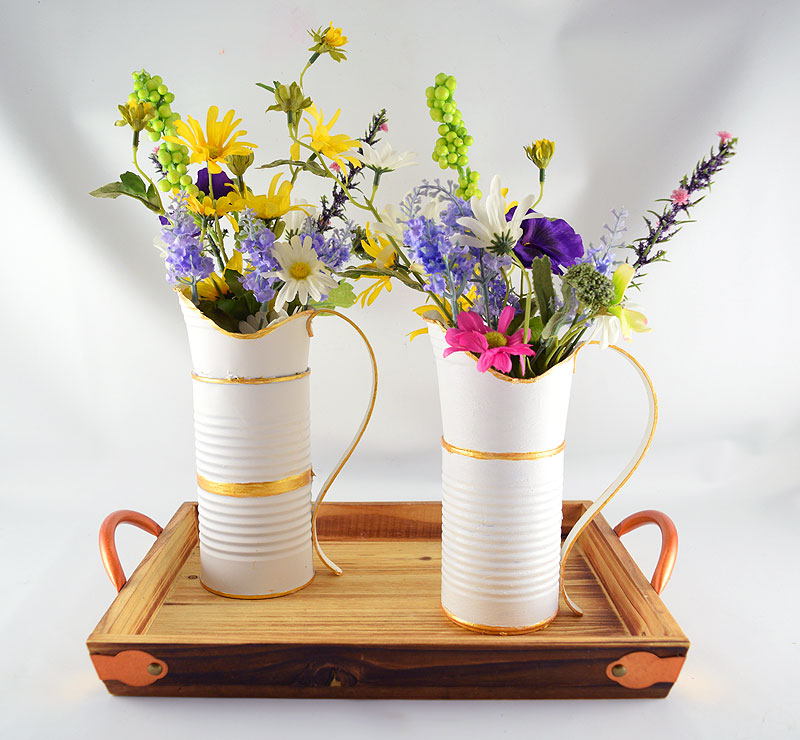
Fill vases with fabric flowers or add a container inside the vase for cut flower stems. Milk cartons are water-resistant so they will not leak. You can also fill the decorated milk carton vases with potting soil to grow a plant or herbs.
More DIY Earth Day Crafts and Decorations
 DIY Moss Covered Basket – Plastic Bottle Crafts

