DIY Flower Pot Cork Board
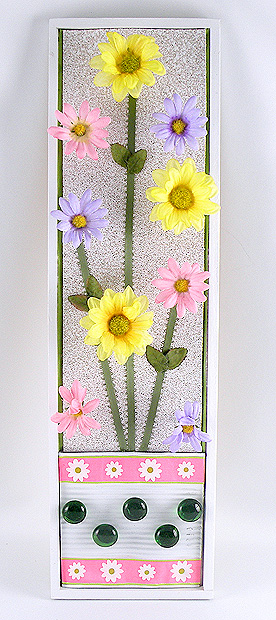 I like to make functional items look pretty and different than something you can find at the store. I wanted to create a fun cork board for my daughter’s room so I created something flowery and fun that looks like a decoration but also serves a purpose. I thought it would be fun to make part of it metal and decide to incorporate a reused can to make the flower pot work with fun magnets.
Materials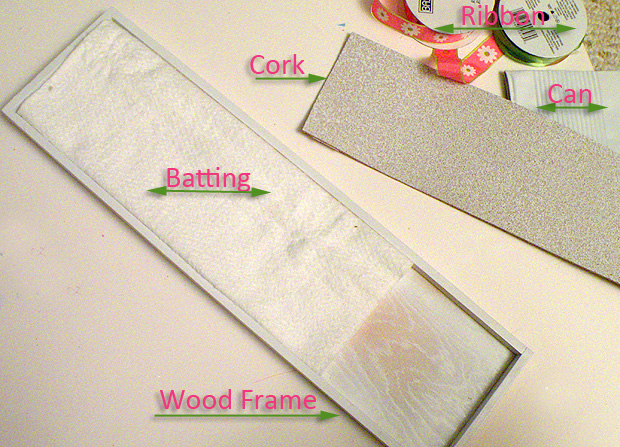
- Wooden Frame
- Cork
- Push Pins
- Flowers
- Magnets
- Glass Beads
- Green Ribbon
- Decorative Ribbon
- Can
- White Spray Paint
- Craft Glue
- Glue Gun
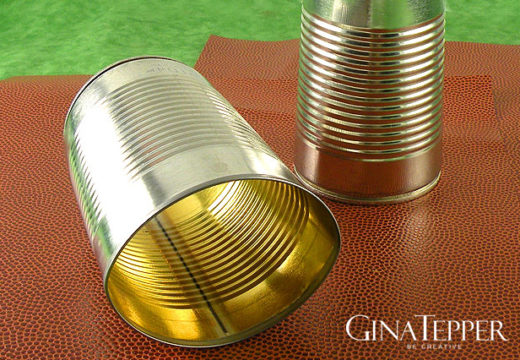
Step 1: Remove both endes of the can with a can opener and flatten the can. Use your hands and step on it if neccesarry but try not to dent it or remove the grooves in the center of the can.
Step 2: Paint the wooden frame, cork and can white.
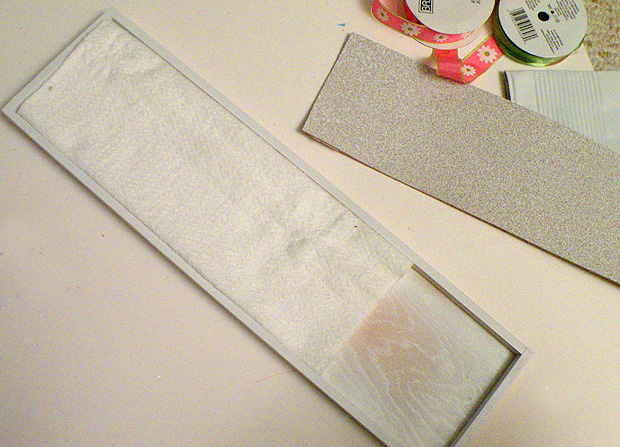
Step 3: Cut a piece of batting to fit the frame leaving a space at the bottom for the can.
Step 4: Glue the batting to the frame with craft glue.
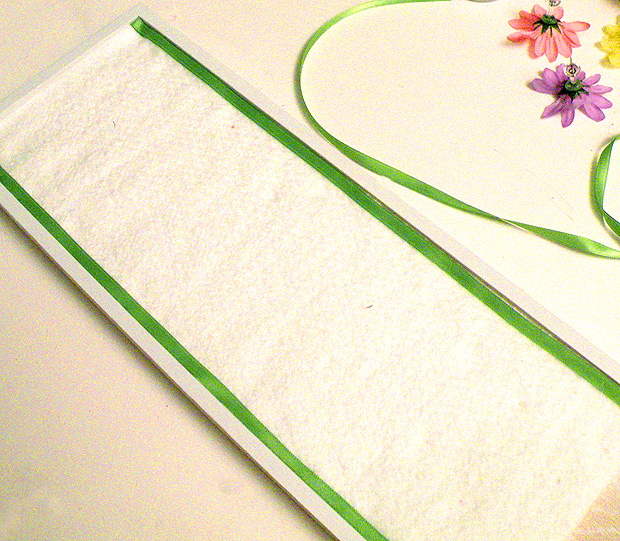
Step 5: Glue pieces of ribbon on each side of the batting with craft glue.
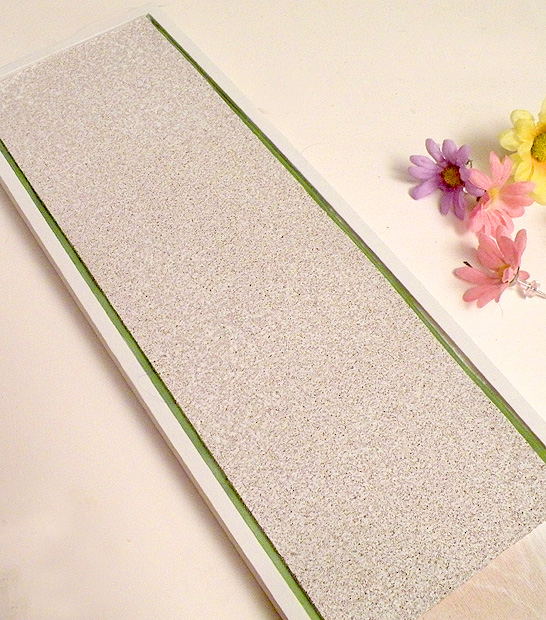 Step 6: Glue the cork onto the batting. Attach the fabric flowers to the pushpins with a glue gun.
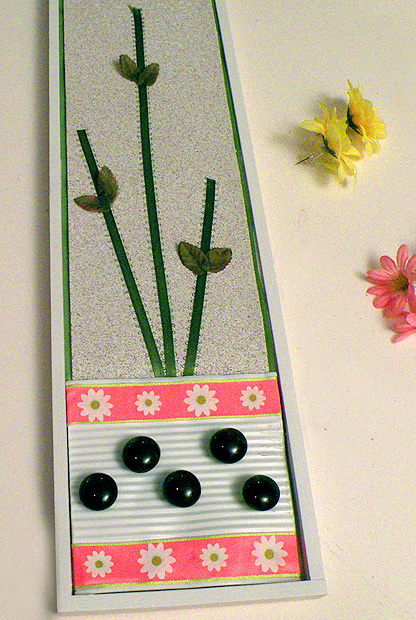 Step 7: Using a glue gun, attach the can to the bottom part of the frame. Add decorative ribbon to the can to turn it into a pretty flower pot. Glue ribbon and fabric leaves to the cork board to make it resemble flower stems coming out of the pot.
Step 8: Glue magnets to the glass beads with a glue gun. Arrange the flower pushpins on the cork board so it looks like a flowerpot in bloom.


