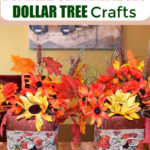
Easy DIY Fall Centerpiece (Dollar Tree Crafts)
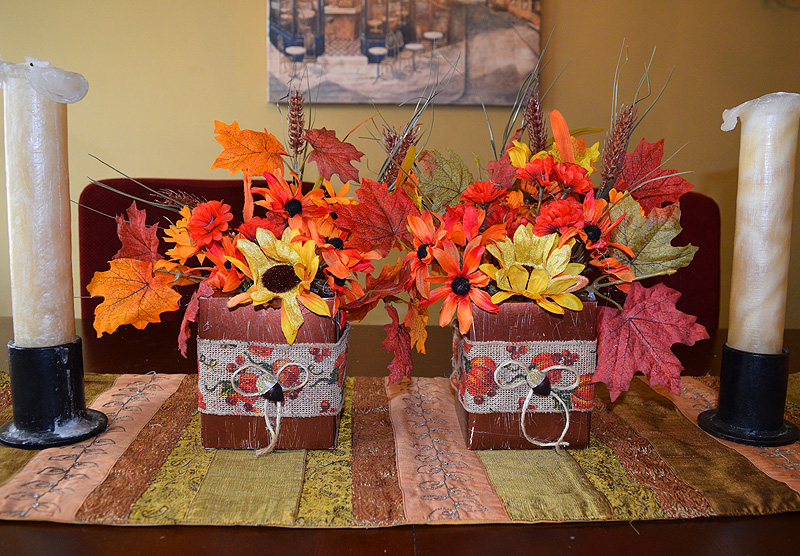
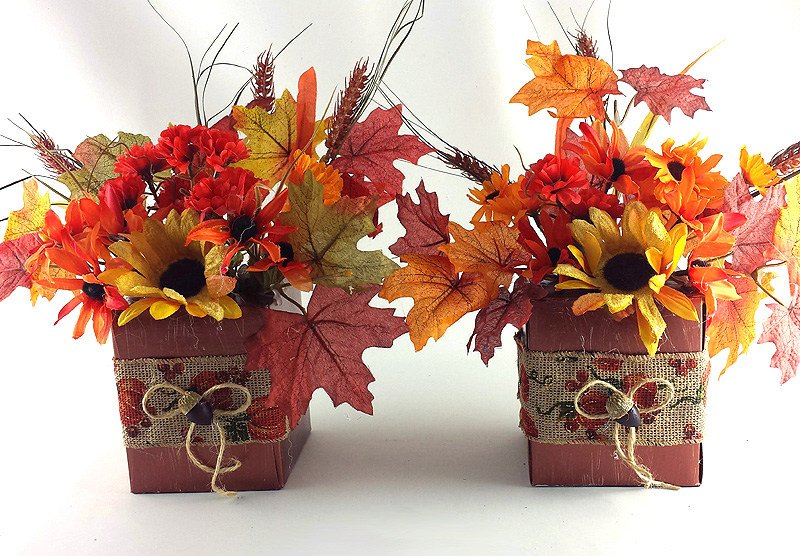
Autumn my absolute favorite season which is why I get inspired early to share my DIY fall centerpiece, decorations and crafts. Fall encompasses everything that I love in a season – the crispness of the air, the beautiful gold, red and amber tones of the leaves and the anticipation of the upcoming holidays.
Here I created an easy to make fall centerpiece using some things I already had around the house along with some inexpensive things from Dollar Tree and craft store. For just a few dollars, you can create beautiful, fall centerpieces that will add a touch of autumn decor to any room.
For these DIY fall centerpieces I used tissue boxes for the vase. I love to used empty tissue boxes to make many of my designs because the are sturdy and a great size. They are very versatile an incorporated into so many different types of projects, crafts and decorations. Here are some of my DIY tissue box crafts and decorations.
These would coordinate nicely with my DIY Pumpkin Topiary.
Please Subscribe to my YouTube Channel
I upload new DIY videos every week!
Materials Used for this Easy DIY Fall Centerpiece

- Cube Tissue Boxes
- Copper Metallic Paint
- Dollar Tree Fall Flowers and Leaves
- Dollar Tree Harvest Ribbon
- Dollar Tree Floral Foam
- Fall Accents (raffia and acorns)
- Hot Glue Gun
How to Make this Easy DIY Fall Centerpiece
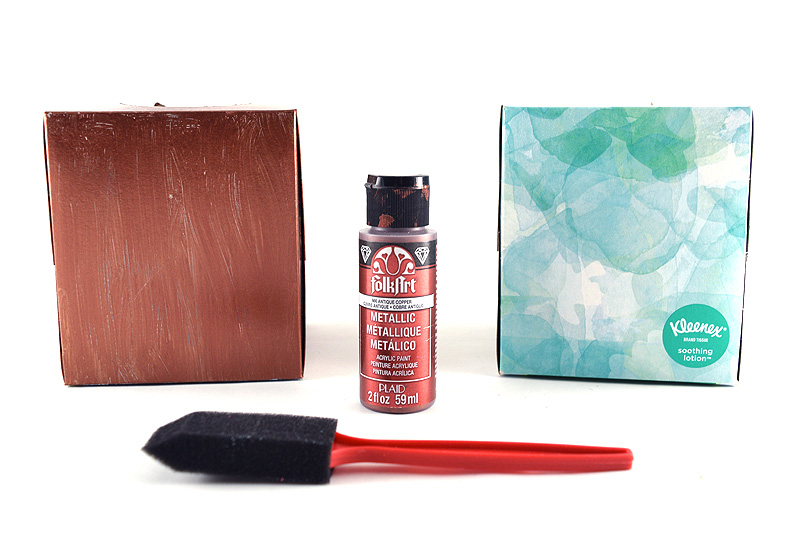
- Remove the plastic from the top opening of the tissue box.
- Paint the box with Copper Metallic paint and let dry.
You may need to apply multiple coats of paint to cover the patterns on the tissue boxes.
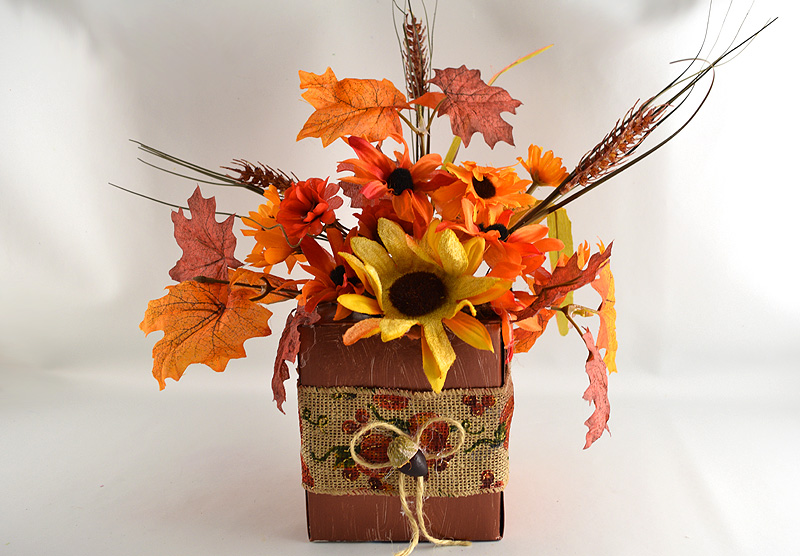
- Hot glue a piece of floral foam the bottom inside of the tissue box.
- Arrange flowers and leaves inside the opening of the box and hot glue to secure them in place.
- Wrap the harvest ribbon around the box and glue to secure.
- Decorate the the ribbon with raffia, acorns or any fall accents.

