DIY Graduation Centerpiece (Step-by-Step Instructions)
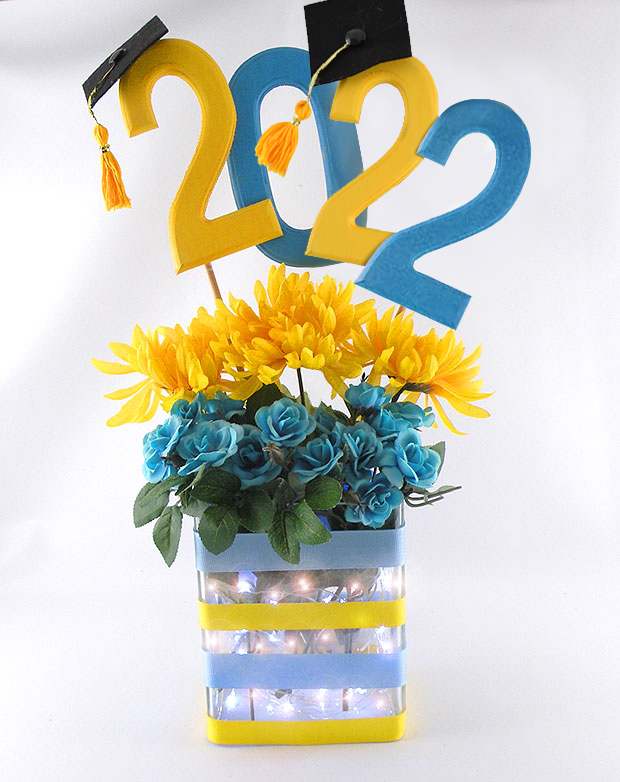
You easily create a fun and festive DIY Graduation Centerpiece that adds all the elements of a graduation celebration – the year, graduation cap and school colors. We are still in the midst of graduation season and there a lot of fun graduation party decorations to help celebrate this monumental event. This centerpiece idea will light up a room with its bright school colors, whimsical graduation year, pretty flowers and sparkling lights.
It’s always fun to create a DIY Graduation Vase Centerpiece filled with flowers and graduation decorations. Not only does it brighten a graduation party but it acts as graduation decor and a beautiful floral arrangement.
Some of the items used to create this graduation centerpiece idea you may already have around your house. This can be made quickly even if you are short on time preparing for a graduation party.
Click here to watch my Graduation Decorations TV segment to see more of my Graduation ideas.
Learn how to make more of my DIY Graduation Decorations using the DIY Graduation Tassel and Mini Tassels.
DIY Graduation Centerpiece (Step-by-Step Instructions)
Create this festive DIY graduation centerpiece made from tissue boxes and inexpensive things from the craft store. This graduation decor is sure to add pizazz to any graduation party for any age! The nice thing about this DIY graduation decoration is can easily be customized for the school colors and mascot.
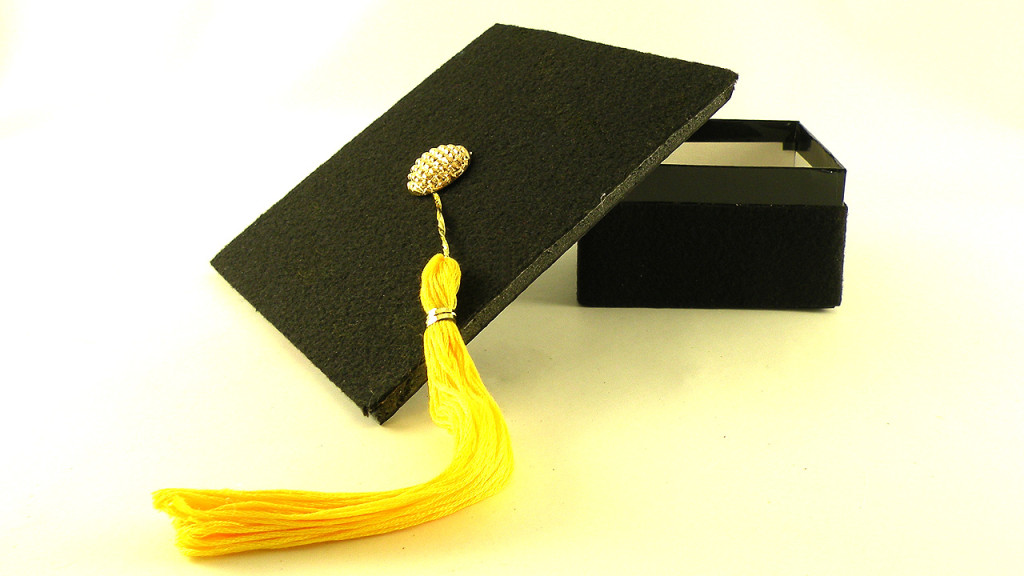
DIY Graduation Cap Gift Box
This easy to make Graduation Cap gift box, perfect for not only gift cards, checks, money but also a small gift. You can customize the colors to match the school theme and make your coordinating tassel.
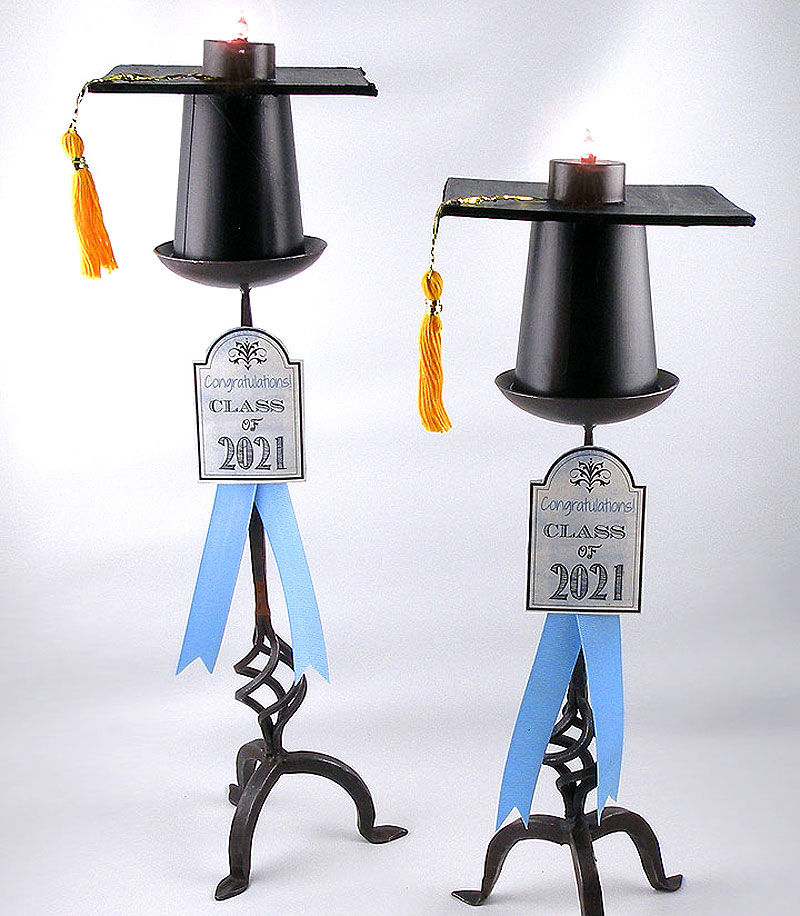
DIY Graduation Cap Decorations (Easy to Make and Free Printable)
These DIY Graduation Cap Decorations are a great decoration to add some height to your table. They are perfect DIY Graduation Centerpieces Ideas. Free Printable
Please Subscribe to my YouTube Channel
I upload new DIY videos every week!
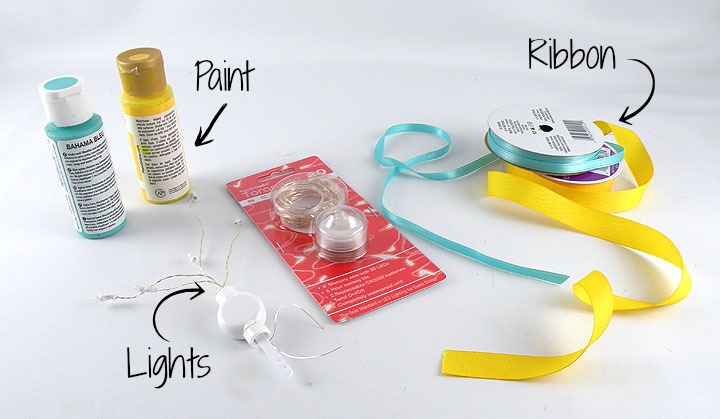
Materials Used to Make the Graduation Party Decoration
- Glass Vase
- 2021 Wood Letters
- Wood Skewers
- Acrylic Paint in School Colors
- Battery Operated LED String Lights
- Ribbon in School Colors
- Double-Sided Tape
- Twist Ties
- Gold or Yellow Embroidery Floss
- Black Stiff Felt
- Black Button
- Masking Tape
Amazon Associates Disclosure
www.GinaTepper.com is a participant in the Amazon Services LLC Associates Program, an affiliate advertising program designed to provide a means for sites to earn advertising fees by advertising and linking to Amazon.com.
How to make the Graduation Centerpiece
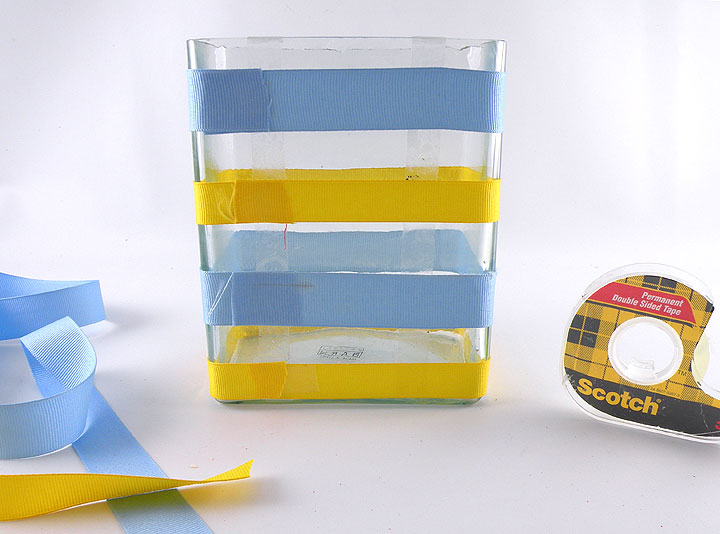
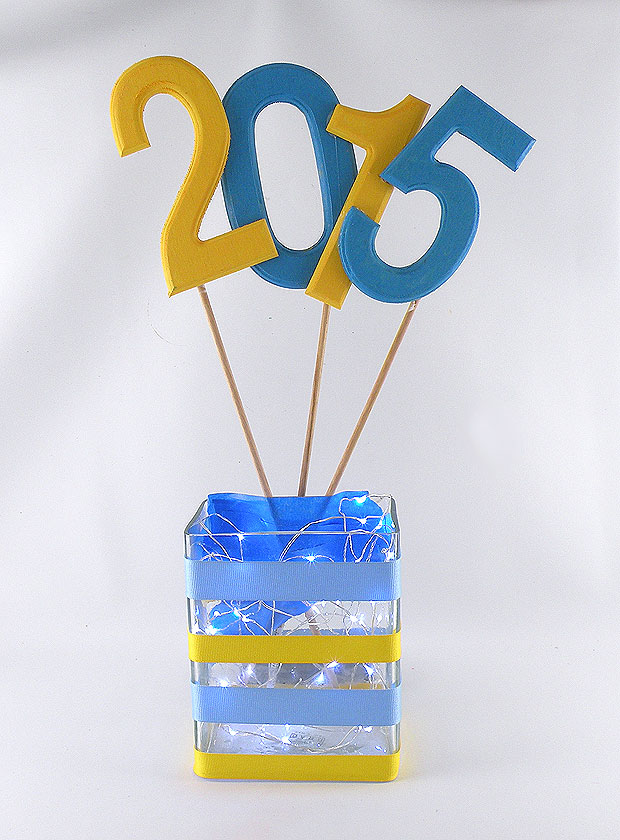
- Apply double-sided tape down the back of the vase and wrap strips of ribbon around the vase, alternating the colors.
- This is a very quick way to decorate a vase and the ribbon can be easily removed to restore the vase to normal.

- Paint the numbers in alternating school colors.
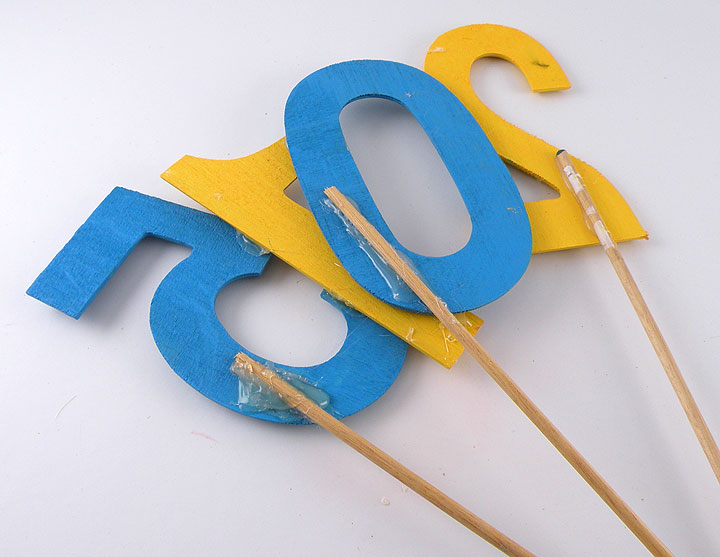
- Using a hot glue gun, attach the numbers, arranging them slightly overlapping as shown above.
- Glue wooden skewers to the back of the numbers so they can stand inside the vase.
- Tape the numbers to the back wall of the vase with masking tape and add the LED string lights.
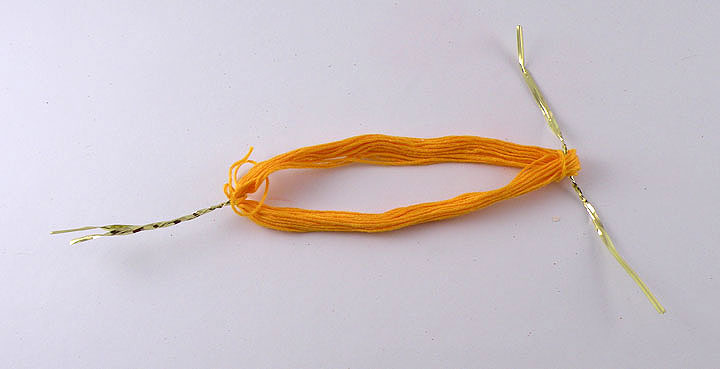
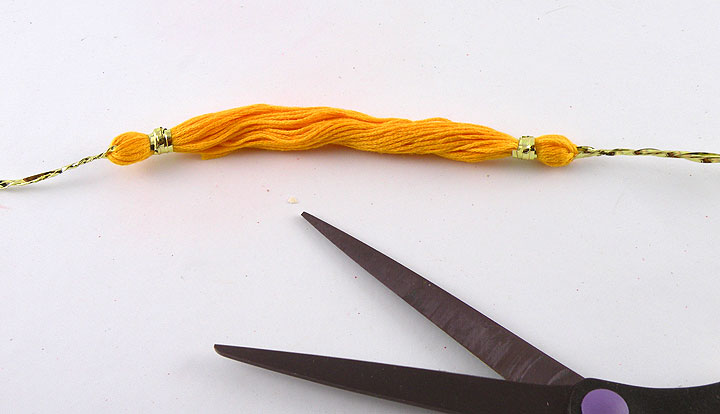
- Feed twist ties through each end of the embroidery floss.
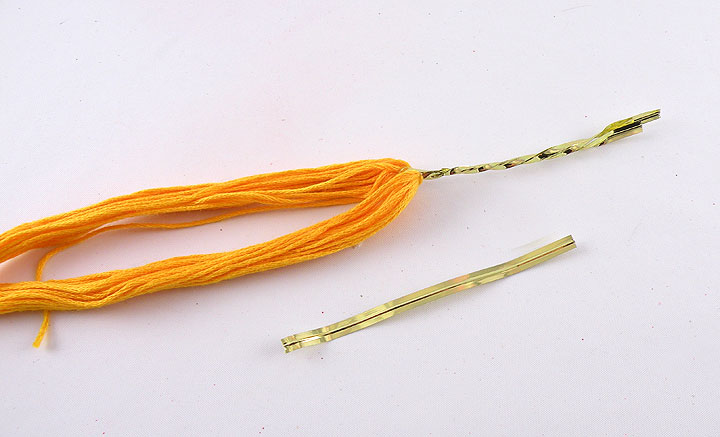
- Twist the tie to secure the end. Cut a smaller piece of the twist tie.
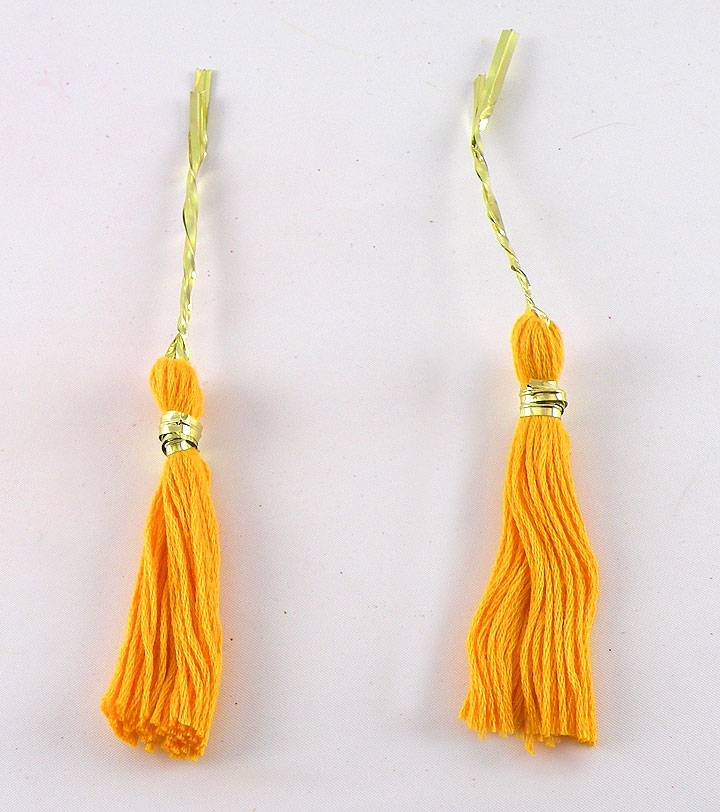
- Twist the smaller piece of the twist tie about 1/4 inch from the top of the tassel to form the tassel head.
- Cut the embroidery floss in half to create two tassels.
- Trim the edges if they are uneven.
- Cut a small square of the stiff black felt. Glue the tassel, and bead on the black square to make a mini graduation hat.
- Extra twist ties can be added to the tassel to make it longer.

- Glue the mini graduation hat to the number 2 and arrange school colored flowers inside the vase to finish your fun graduation centerpiece!


