Insanely Cute DIY Giant Pencil Prop For Under $3 (Free Printable Pattern)
DIY Giant Pencil for Under $3
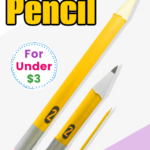
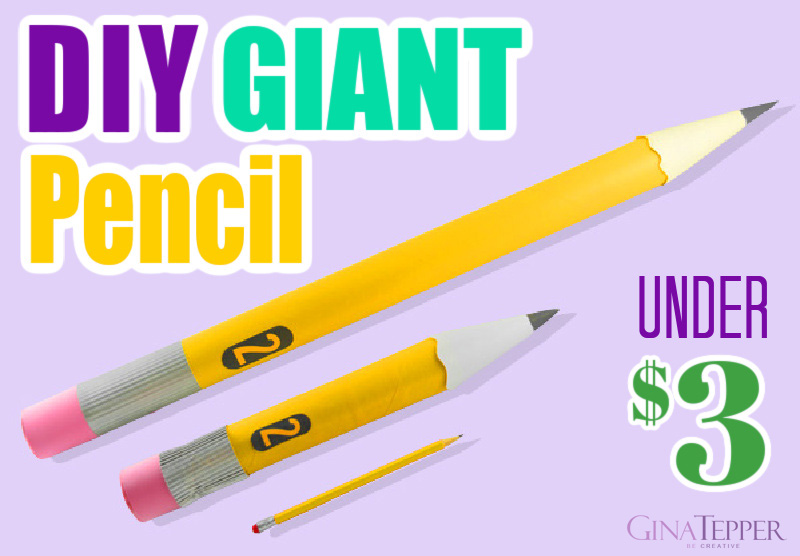
Learn how to make DIY Giant Pencil oversized school supplies. This Giant Pencil Prop is very easy to make using household items and things from the craft store that will cost less than $3! They are a great way to dress up a classroom, display case, or even for PTA school bulletin board ideas. It would also look great in a kid’s room.
Click here to download the Number 2 Pencil Number Printable.
Also download the Pencil Point Cone Printable.
There are three different sizes on the printable that will fit perfectly on a large cardboard roll, wrapping paper or paper towel roll. Also download the Pencil Point Cone Printable. There are two different sizes perfect for a jumbo paper tube, wrapping paper roll and also a paper towel roll. These templates are to be use for my how to make an oversized pencil tutorial.
DIY Giant Pencil with Actual Size Pencil
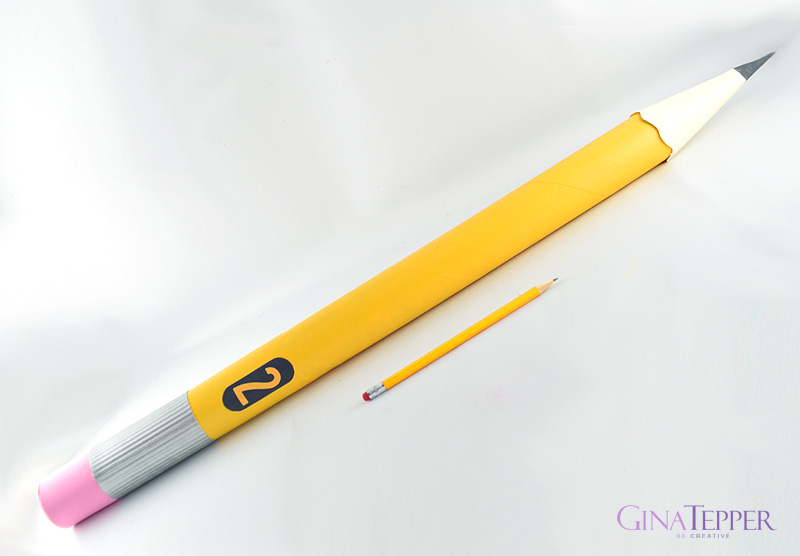
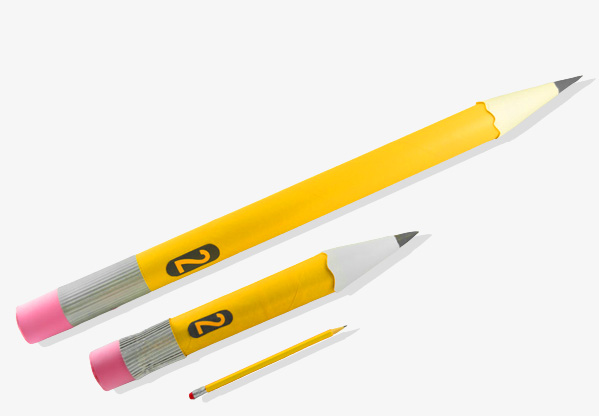
The fun thing about this giant pencil decoration is that you can make it any size you would like depending on the items you have on hand. I have used a large cardboard tube from the fabric store that decorator fabric was wrapped around, a wrapping paper roll, and even a paper towel roll. The roll used in this giant pencil tutorial is a wrapping paper tube. These huge pencils look so real that everyone will believe that they are a working pencil even though it is made out of paper and craft supplies.
Giant Pencils Made from a Wrapping Paper and Paper Towel Roll with Actual Size Pencil
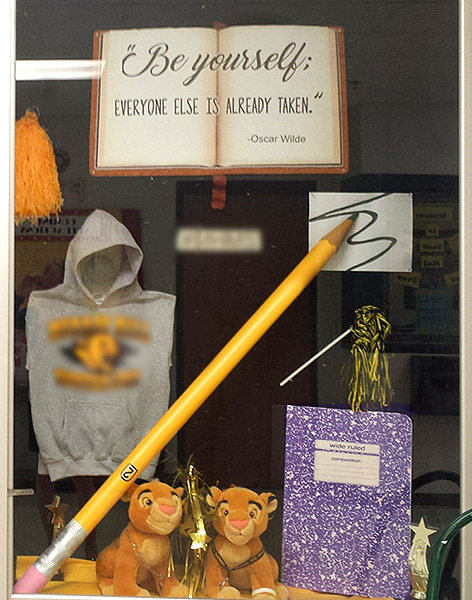
Here are school bulletin board ideas decorated with a DIY giant pencil prop that is over 4-1/2 feet tall, a huge book with a quote and a giant composition book all made from reused and inexpensive items.
Giant Pencil Prop, Composition Book and Book in Display Case
Click here to download the Number 2 Pencil Number Printable. There are three different sizes on the printable that will fit perfectly on a large cardboard roll, wrapping paper or paper towel roll. Also download the Pencil Point Cone Printable. There are two different sizes perfect for a jumbo paper tube, wrapping paper roll and also a paper towel roll. These templates are to be use for my how to make an oversized pencil tutorial.
Click below to watch my video on how make a Giant Pencil DIY
Please Subscribe to my YouTube Channel
I upload new DIY videos every week!
Materials
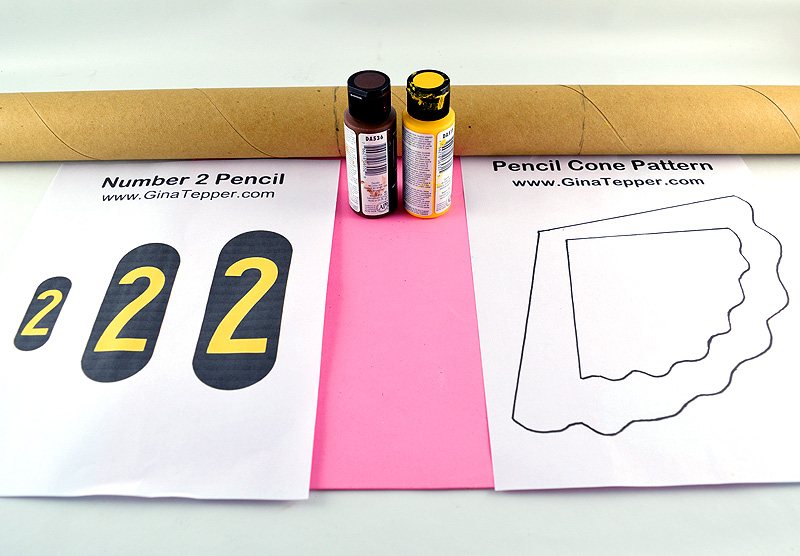
To keep the cost of the oversized pencil under $3, use aluminum foil instead of painting the cardstock silver. Color the point of the pencil with a grey marker or pencil. Everything is reused or repurposed except for the yellow paint and pink craft foam. The paint and the pink craft foam cost less than $1 each.
There will be enough paint and craft foam to make multiple giant pencils for less than $3.
- Large Cardboard Tube (Decorator Fabric Roll, Wrapping Paper Roll or Paper Towel Roll)
- Yellow Acrylic Paint
- Dark Grey Acrylic Paint
- Silver Acrylic Paint
- Pink Craft Foam
- Cream Cardstock
- Hot Glue Gun
- Craft Glue
- Number 2 Pencil Number Printable
- Pencil Point Cone Printable
- Paper Crimper (optional)
Amazon Associates Disclosure
www.GinaTepper.com is a participant in the Amazon Services LLC Associates Program, an affiliate advertising program designed to provide a means for sites to earn advertising fees by advertising and linking to Amazon.com.
How to Make a Giant Pencil Prop
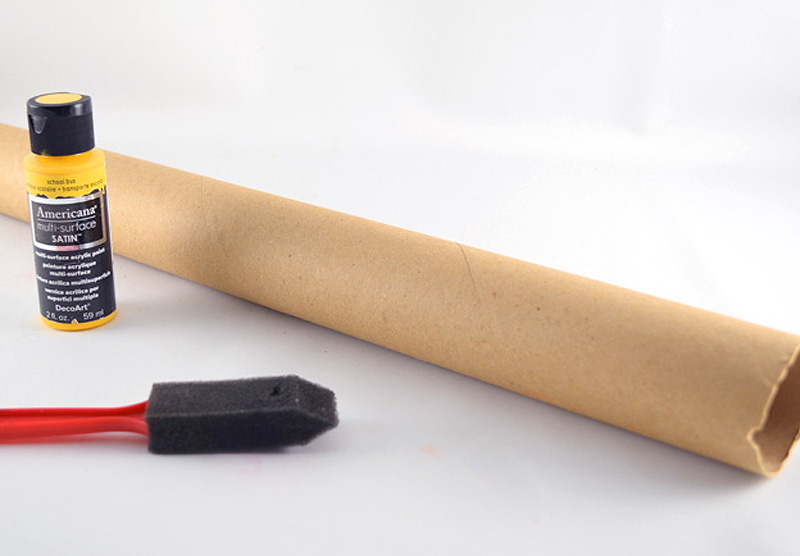
- Paint a cardboard tube with yellow acrylic paint.
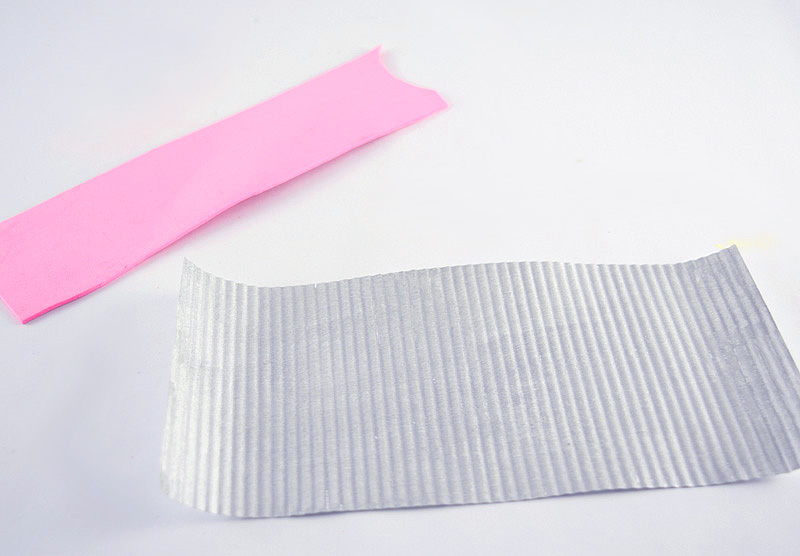
- Cut a piece of pink craft foam the size to wrap around the paper tube and the length of the eraser.
- Cut a piece of cardstock the size to wrap around the paper tube and the length of the metal part that holds the eraser (It is called a Ferrule – I did not know it was called this)
- Either feed the cardstock through a paper crimper or fold the paper into accordion folds to give it texture.
- Paint the cardstock with silver acrylic paint this will make the Ferrule.
Note: Rather than using cardstock and silver acrylic paint for the Ferrule, you can use aluminum foil and either crimp it or fold it into accordion folds to achieve the textured metal part of the pencil.
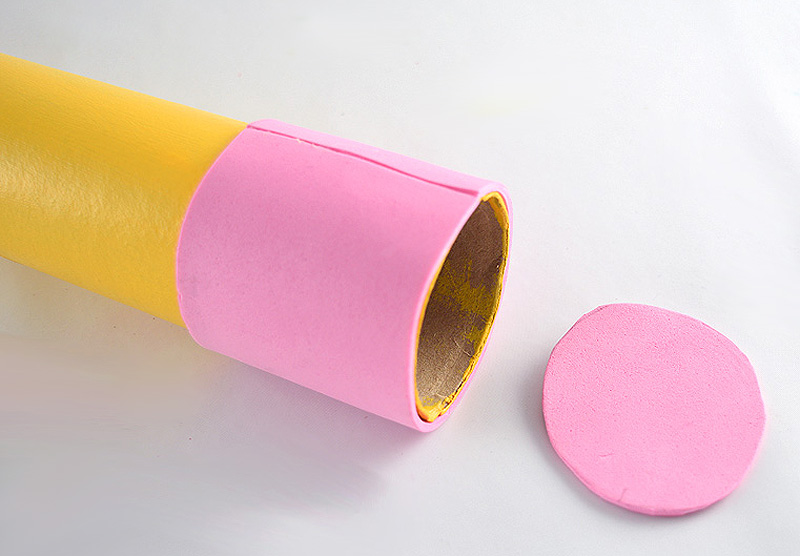
- Trace the round opening of the tube onto the craft foam and cut it out. This will be the end of the pencil.
- Glue the craft foam around the end of the pencil with craft glue and then glue the circle piece onto the end to seal the eraser.
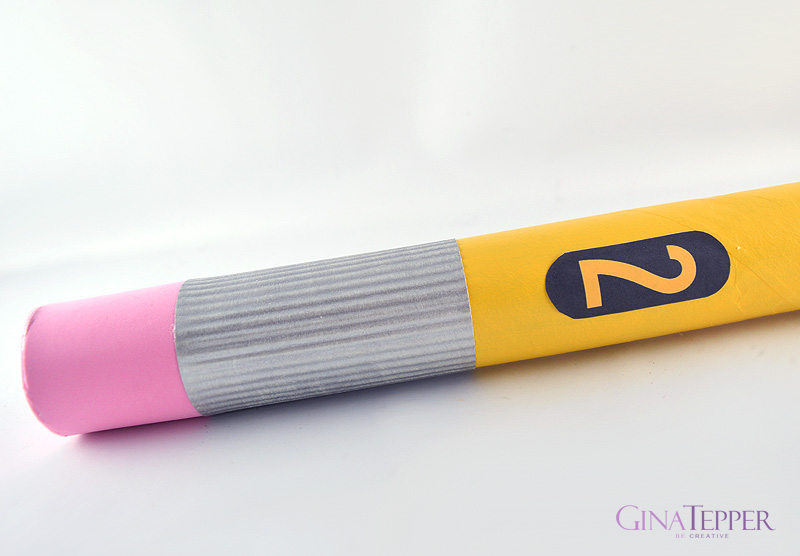
- Glue the silver cardstock or foil around the pencil just above the eraser, slightly overlapping it over the eraser.
- Print the Number 2 Pencil Number Printable and cut out the appropriate size for the giant pencil tube.
- Glue the Number 2 on the pencil just above the metal band with craft glue.
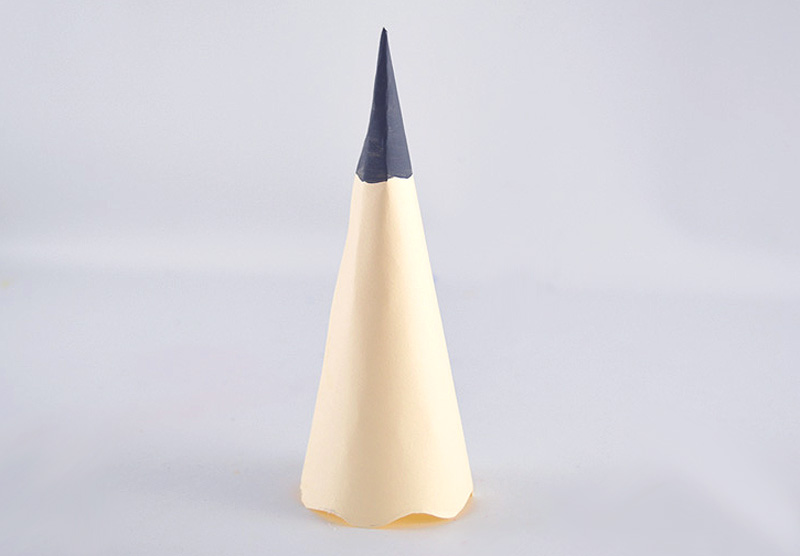
- Print the Pencil Point Cone Printable. There are two versions of the cone printable for each tube size. The smaller pattern is perfect for a paper towel roll and the other one works with larger tubes like a wrapping paper roll or larger roll.
- Overlap the size to create the cone that fits perfectly over the end of the tube and glue.
- Paint dark grey paint on top of the point to make it look like the pencil lead. The point of the pencil lead can also be drawn on with a pencil to match the real pencil lead.
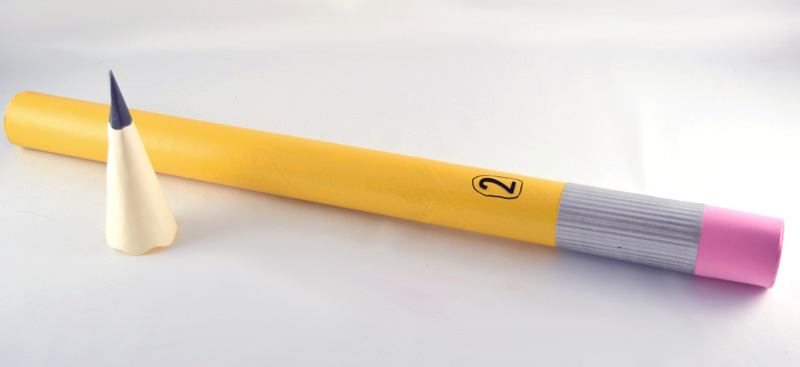
- Glue the cone to the end of the pencil to finish creating the giant pencil prop.

DIY Giant Pencil Prop
More DIY Back to School Crafts
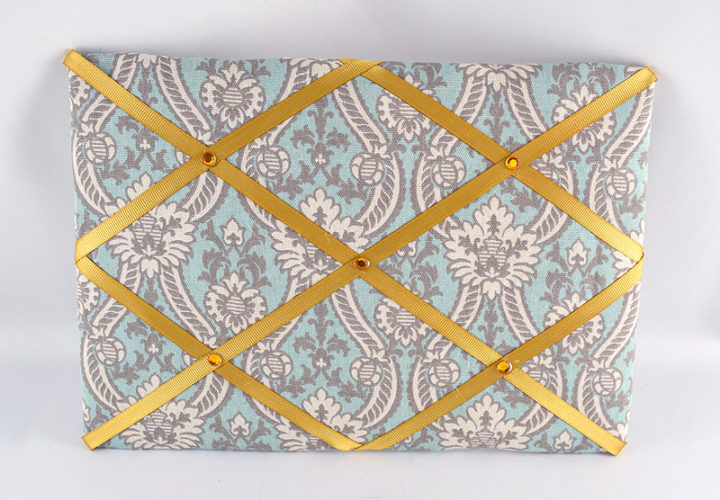
Easy to Make DIY Fabric Bulletin Board
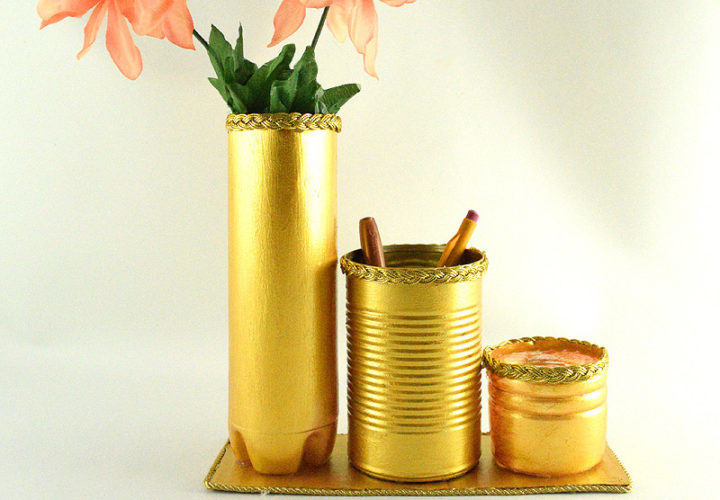
Elegant DIY Pencil Holder with an Attached Vase (Water Bottle Craft)

