DIY Easter Centerpiece Ideas (Crazy Simple)
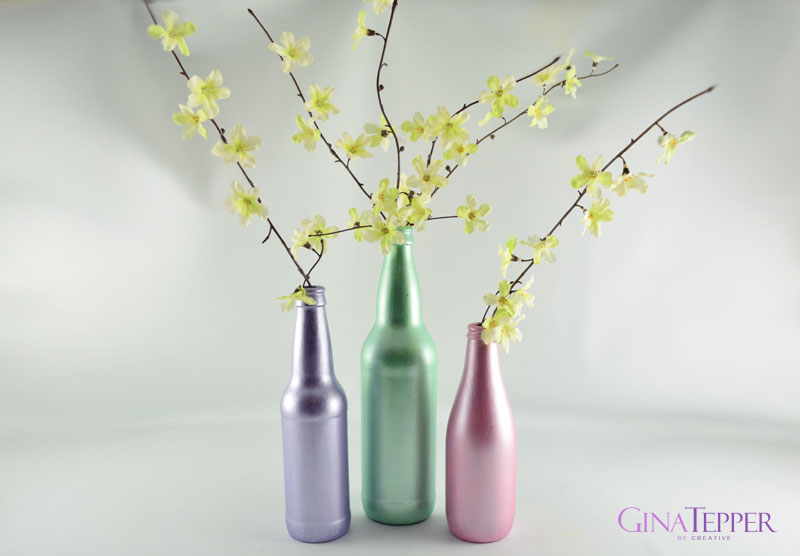
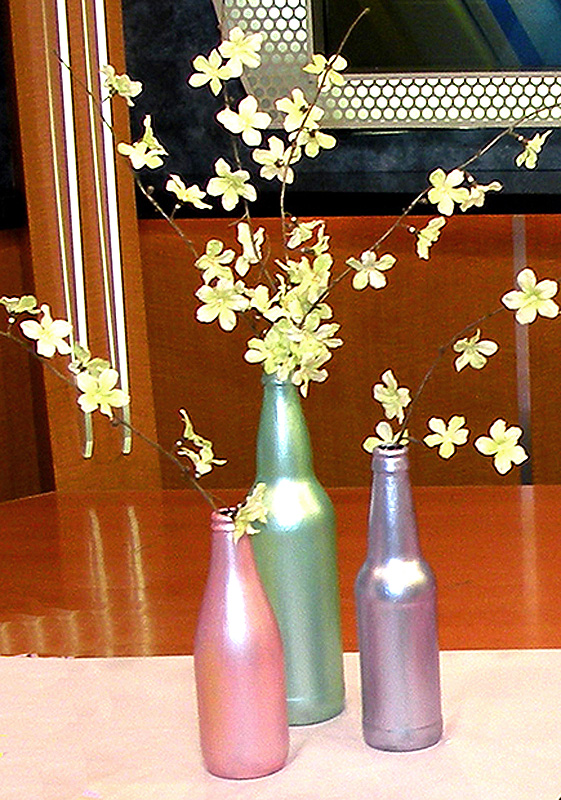
It’s amazing what you can do with things you may already have around your house like this repurposed bottle DIY Easter centerpiece. You don’t have to spend a lot of money to create a beautiful DIY Easter centerpiece to brighten your home. It is unbelievably easy to make this DIY Easter decoration with multi-surface acrylic paint and reused bottles. Sometimes the simplest and easiest to make decorations are the most elegant.
Raid your recycle bin and grab some interesting bottle shapes and arrange them to see if you like the configuration. The bottles can be any size, shape, or color. The difference in height and appearance will make the Easter centerpiece more interesting and stylish. The color of the bottle will make the tone of the paint slightly different which will also add to the design.
Once painted, these bottles can be accented with either fresh floral stems or artificial flowers. The bottles can be filled with water to keep them fresh, natural branches looking beautiful.
Click here to see my Mardi Gras version of my DIY Bottle Centerpiece
Materials for the DIY Easter Centerpiece
- Glass Bottles
- Multi-Surface Pearl Craft Paint
- Foam Brush
- Decorative Floral Branches
How to Make the DIY Easter Centerpiece
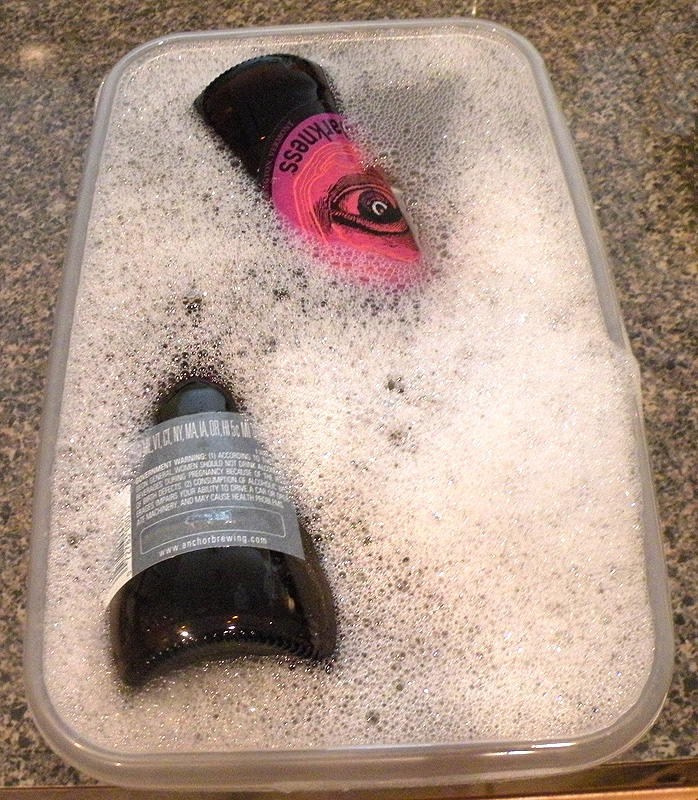
Step 1: Soak the bottles in warm soapy water to easily remove the labels. If the labels don’t come off easily, continue to soak them. Once the labels are removed, rub the bottles with something abrasive such as baking soda to remove and glue or residue.
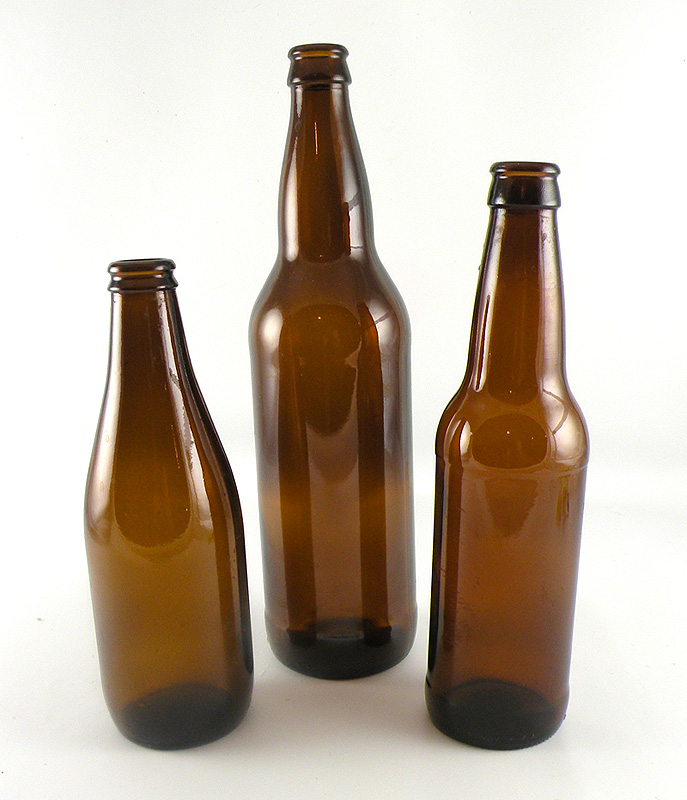
Step 2: Dry off the bottles and shake to remove any water that remains inside the bottles.

Step 3: Paint the bottles with pastel, pearl multi-surface paint with a foam brush. I used these Martha Stewart paints from the craft store for my bottles. You may need more than one coat of paint to completely cover the bottles and give them a satin finish.
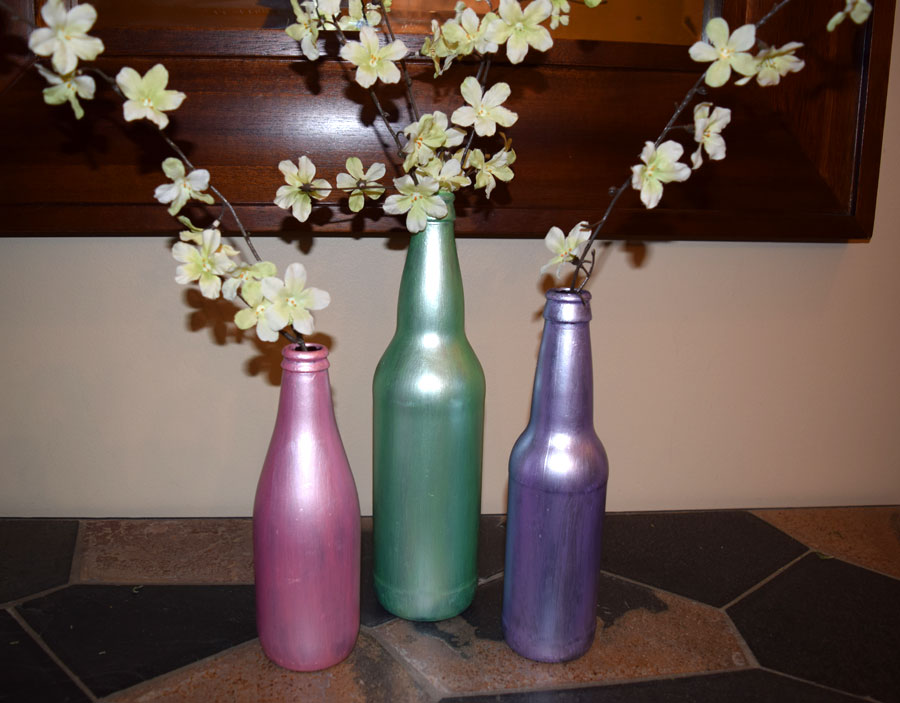
Step 4: Fill with fresh cut or faux flowers for a festive spring decoration! Fill the bottles with water if using fresh stems to keep them beautiful.
