Adorable DIY Christmas Train Decoration (Easy Recycled Crafts)
- DIY Christmas Train Decoration
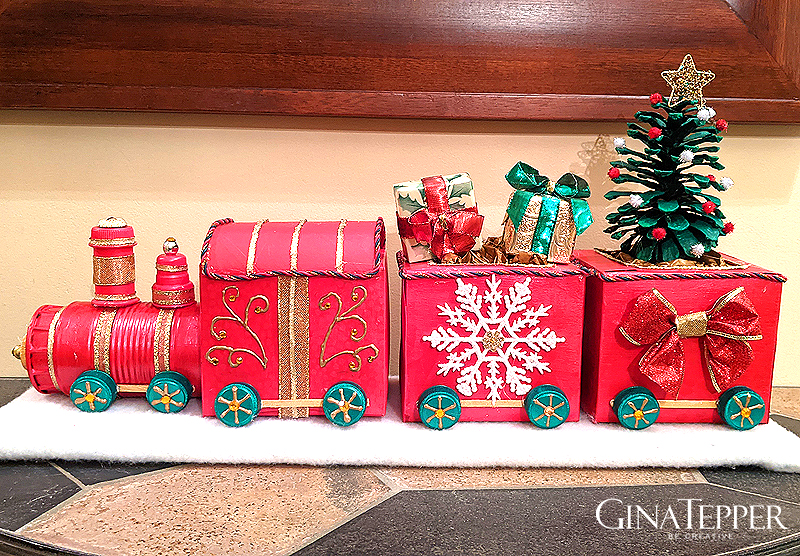
Learn how to make this adorable DIY Christmas Train Decoration using things you may already have around your house. I have always loved the look of holiday train decorations. They add a warm, festive accent to the Christmas decorations. I wanted to add a festive toy train under the Christmas tree so I decided to create one full of Christmas cheer and all of the elements of the holidays. The finished design has red and gold accents, snowflakes and bows, presents, and of course a Christmas tree.
This budget-friendly DIY Christmas decoration is easier to make than it looks. Just assemble the items, paint and decorate. Most of the materials used to make this DIY Christmas Train Decoration are reused items. This recycled craft idea is easy and inexpensive is a lot of fun to make.
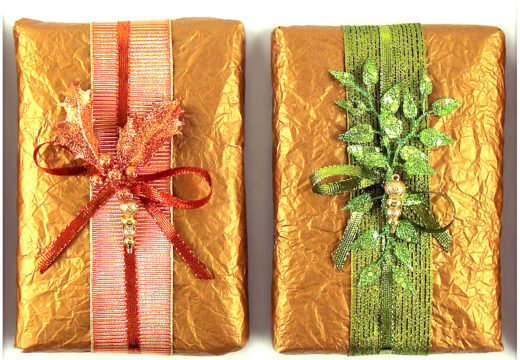
The household items used to make this DIY holiday train are empty tissue boxes, a tin can, and bottle caps. The train is embellished with multi-surface acrylic paint, 3-D paint, ribbon, and rhinestones for the accents. On the caboose of the train is a painted pine cone and the presents are small empty boxes that are decoratively gift wrapped. The finished length of the holiday train decorations is 23 inches long.
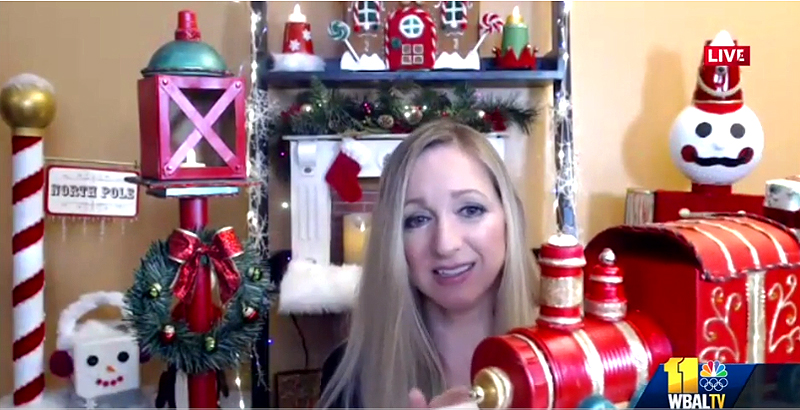
I had a Zoom TV segment on NBC affiliate WBAL TV showing how I made my DIY Christmas Train along with other DIY Christmas Decorations.
Click here to watch my TV segment.
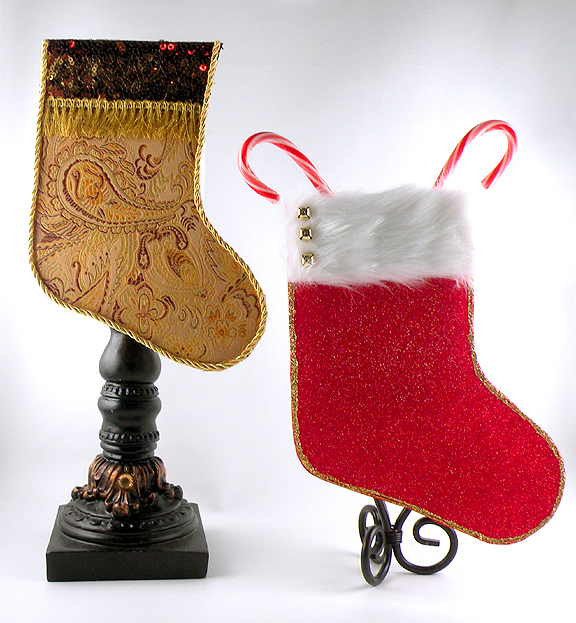
Another one of my tissue box recycled craft ideas for holiday decorating are my DIY stocking ideas. This easy no-sew Christmas stocking can sit on a mantle or shelf. Click here for my step-by-step tutorial.
Materials
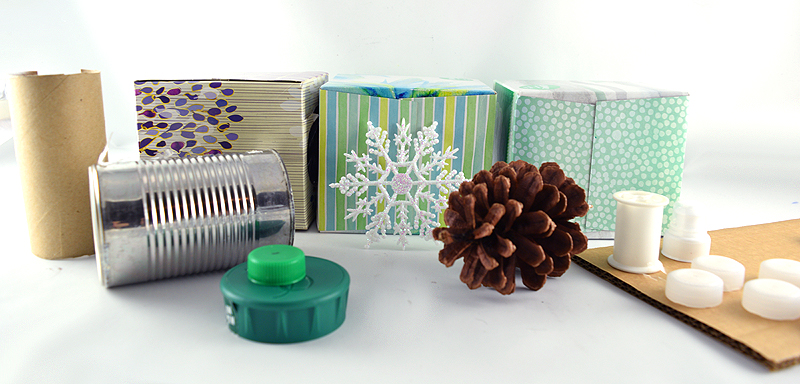
- 3 Empty Cube Tissue Boxes
- 1 Tin Can
- 18 Water Bottle Caps
- 1 Sports Bottle Cap
- 1 Orange Juice Lid
- Plastic Snowflake
- Large Pinecone
- Small Box
- Cardboard for the Base
- Snow Blanket or White Fabric (to Cover the Base)
- Ribbon
- Cardstock
- 8 Wood Stirrer Sticks
- Gold 3 Dimensions Paint
- Green Multi-Surface Acrylic Paint
- Red Multi-Surface Acrylic Paint
- Hot Glue Gun
- Craft Glue
How to Make a DIY Christmas Train Decoration
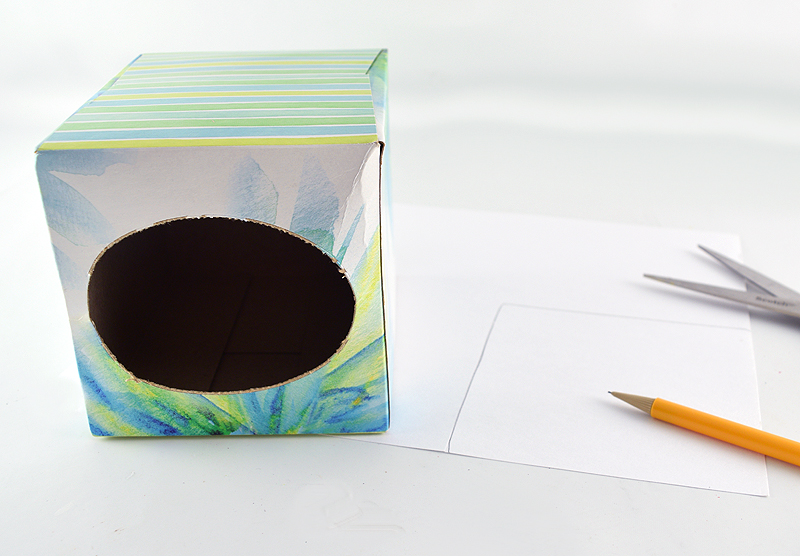
- Remove the plastic from the tissue box and trace the shape of the side with the opening onto a piece of cardstock.
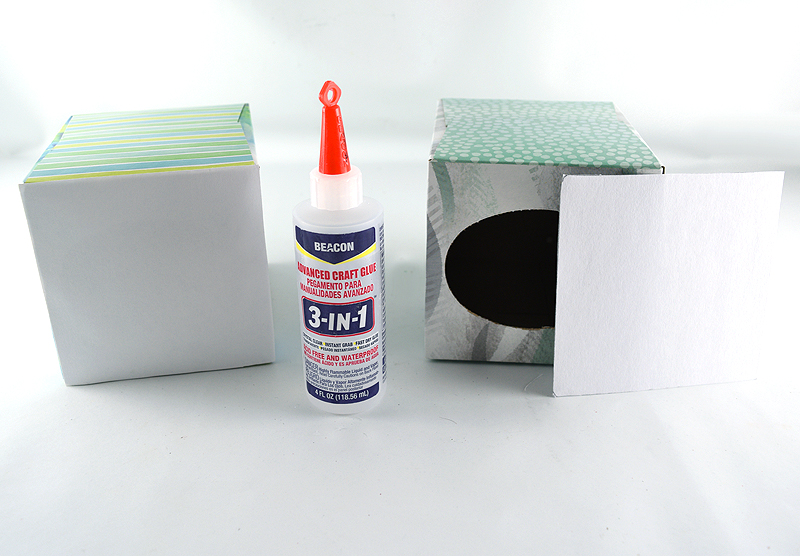
- Cut out the cardstock shape of the tissue box and glue onto the box to cover the opening.
-
-
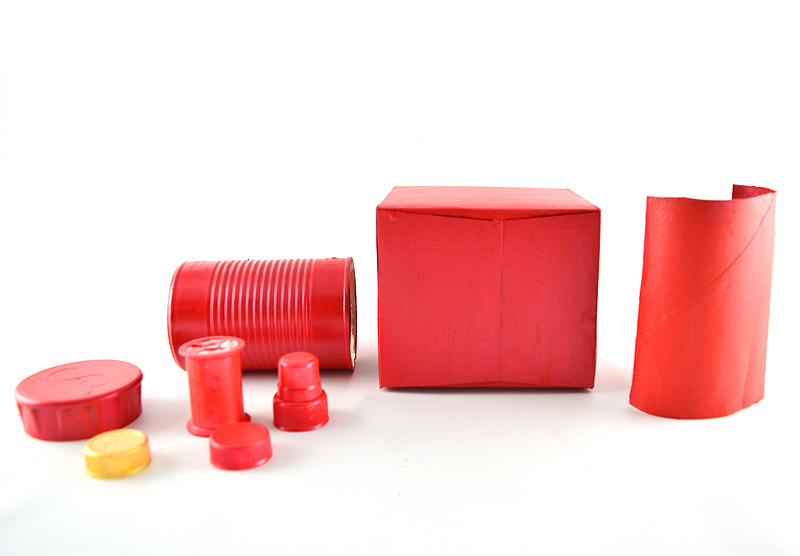
- Paint all of the pieces red and one bottle cap gold.
- Paint all of the pieces red and one bottle cap gold.
-
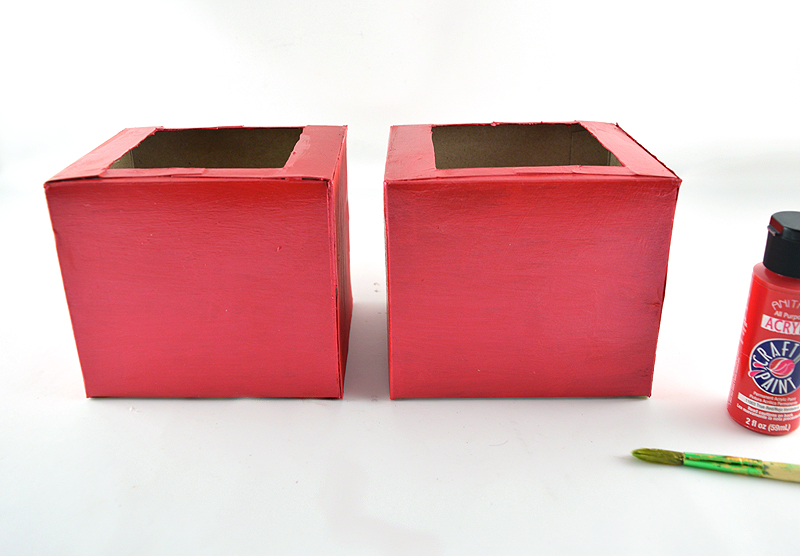
- Cut the center out of two of the tissue boxes and paint red.
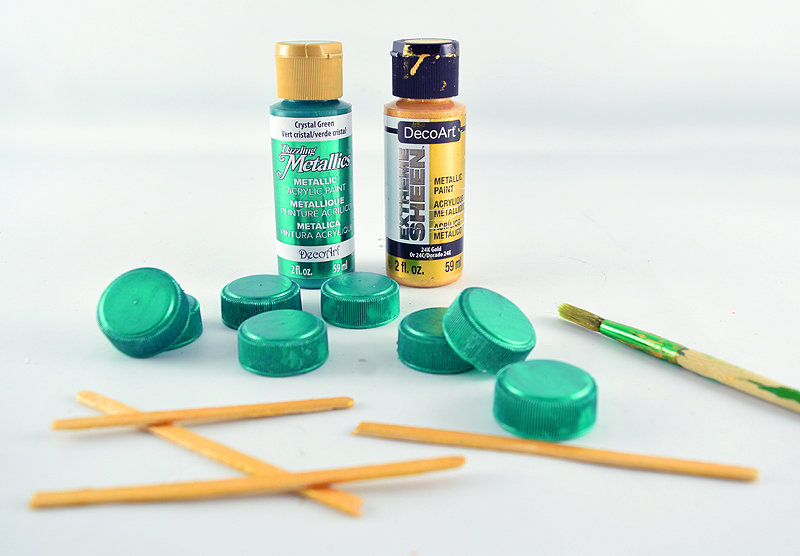
- Paint the bottle caps green and the wood stirrers gold.
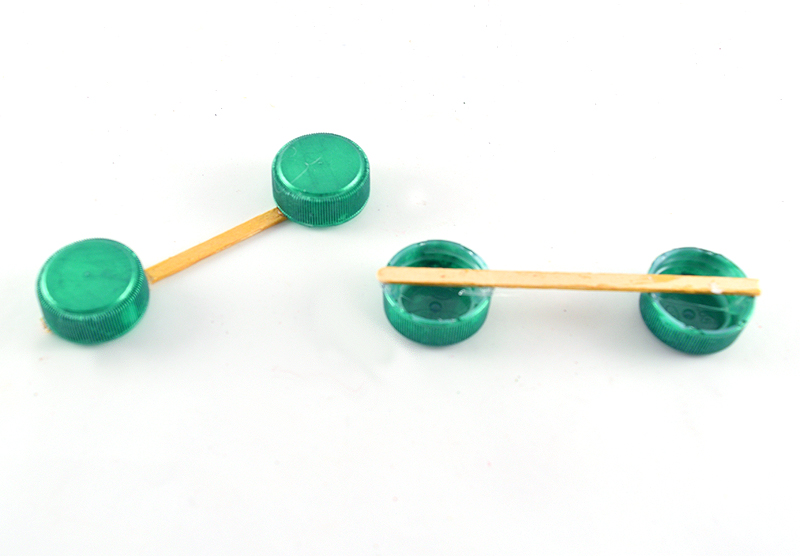
- Glue the painted green bottle caps to the wood stirrers.
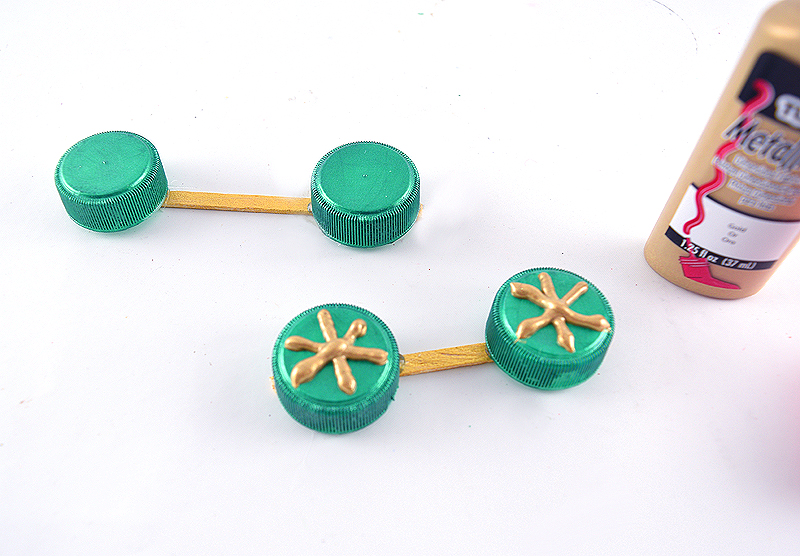
- Draw wheel spokes on to the bottle caps so they look like wheels.
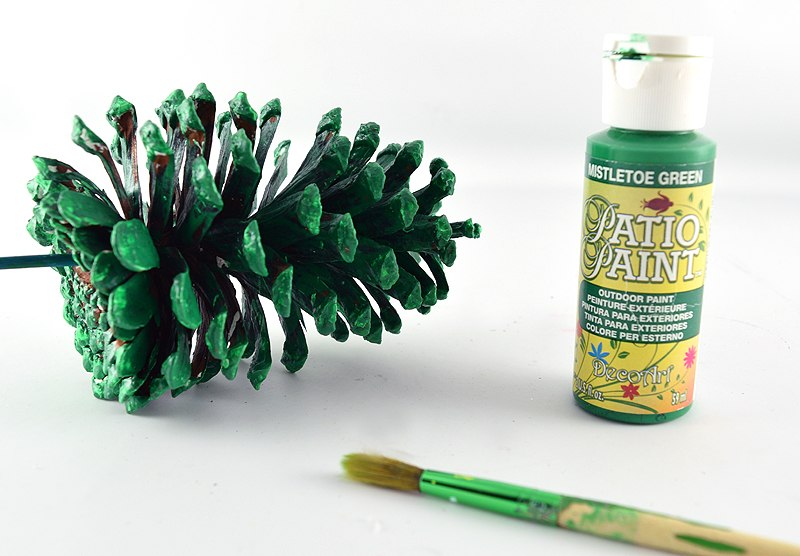
- Paint the pine cone green.
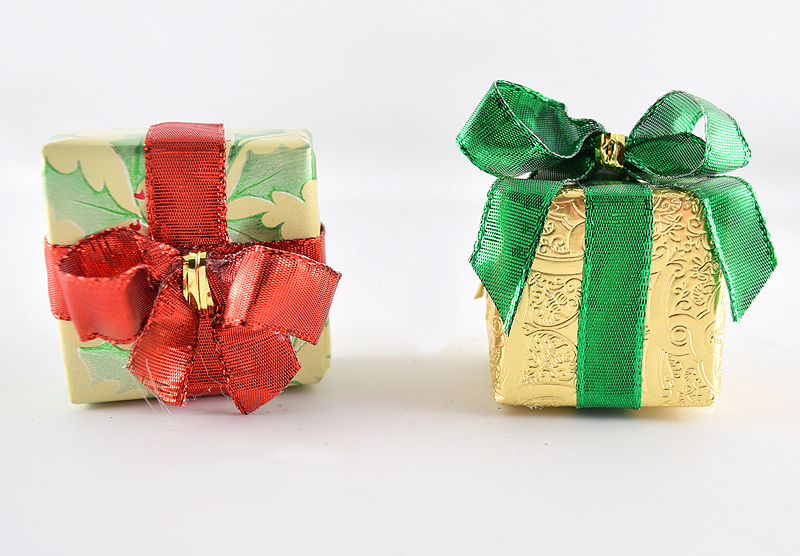
- Wrap small boxes into tiny presents.
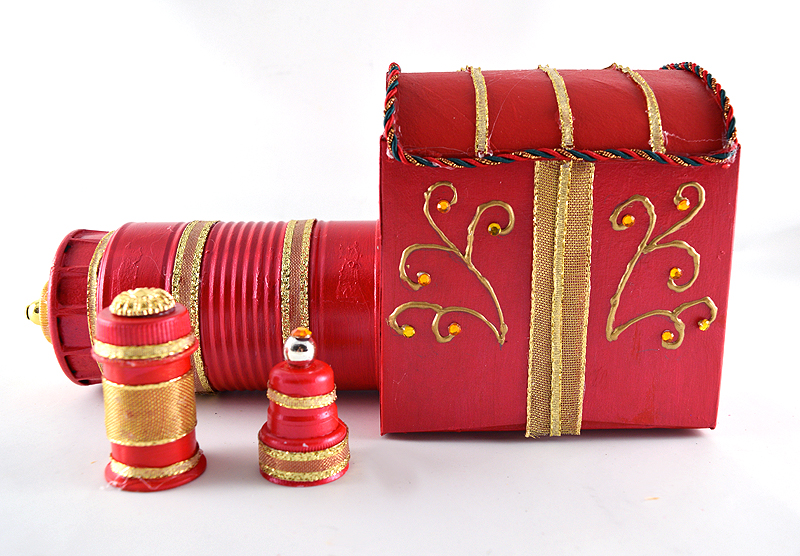
- Glue the engine pieces together and decorate.
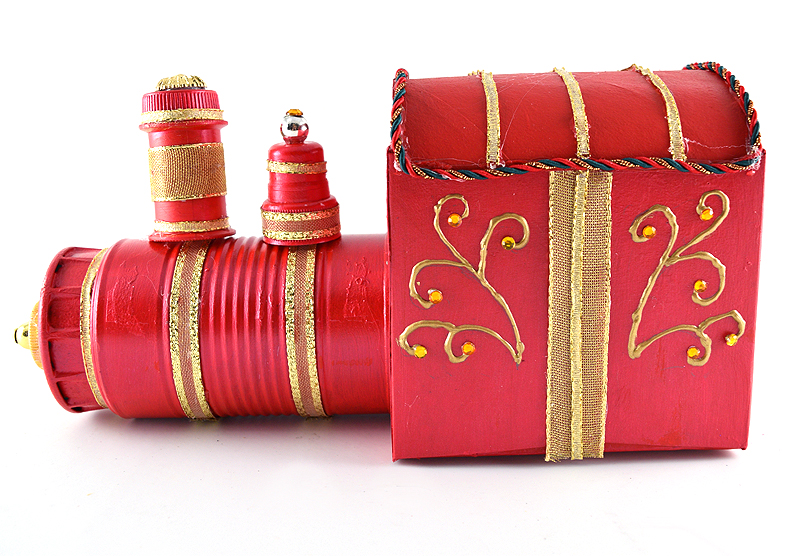
- Attach the pieces on to the top of can.
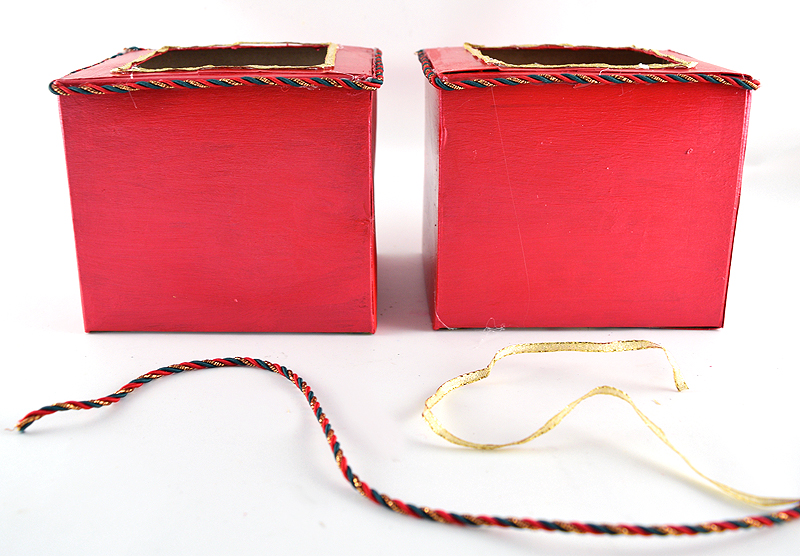
- Glue ribbon accents onto the two red boxes with the opening.
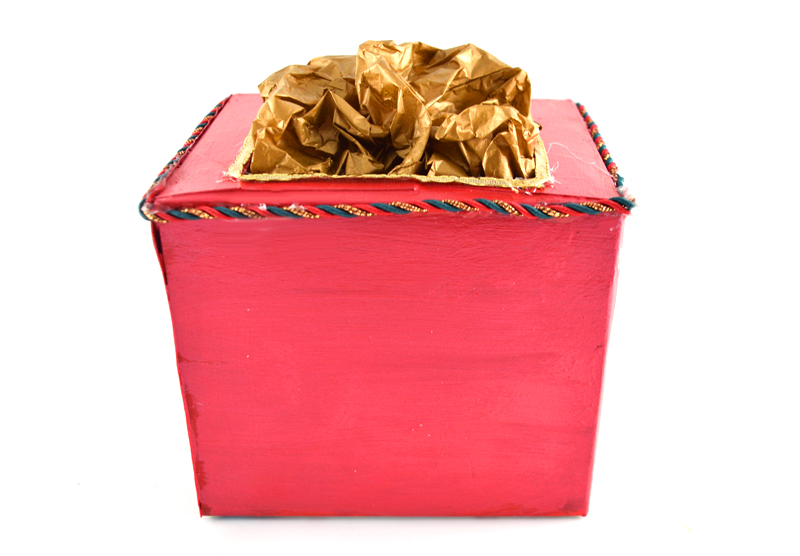
- Fill one of the boxes with gold tissue paper.
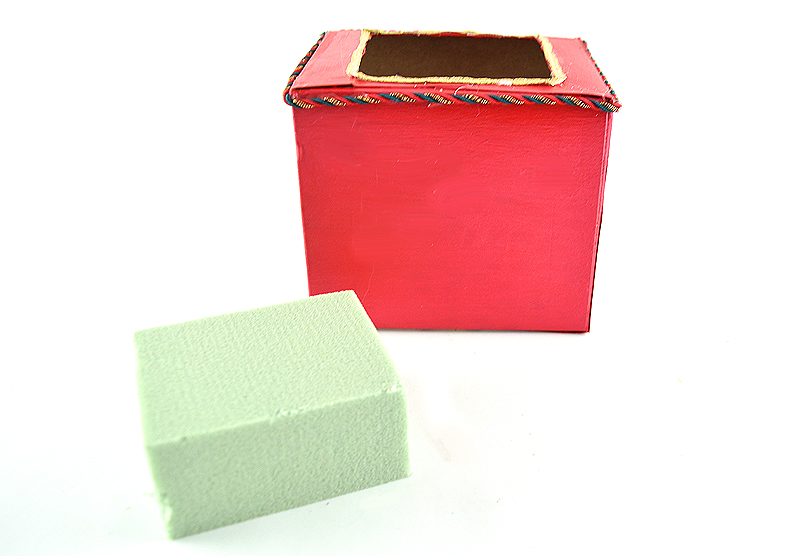
- Glue a piece of floral foam inside of the other box with an opening.
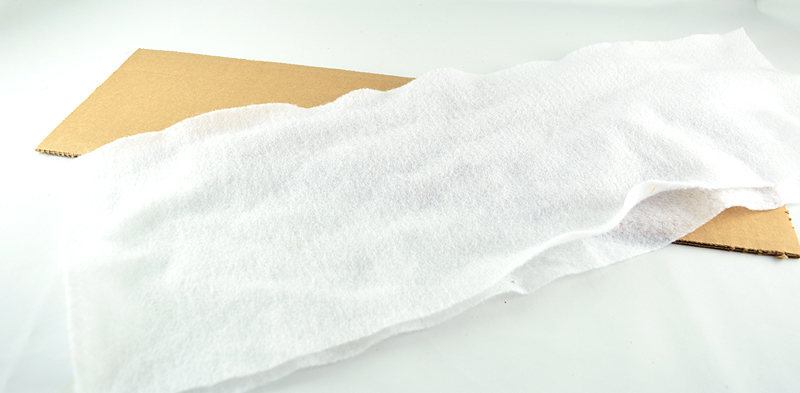
- Cover a piece of cardboard with white fabric.

- Glue the wheels to the each car of the train.
- Attach the snowflake to one car and ribbon to the caboose.
- Glue the tiny presents to the car with the snowflake and the pine cone to the caboose.
- Attach decorations to the pinecone to make it look like a decorated Christmas tree.
- Glue all of the train cars to the fabric covered board to secure.

