Beautiful DIY Tin Can Decorations (Reused Can Crafts)
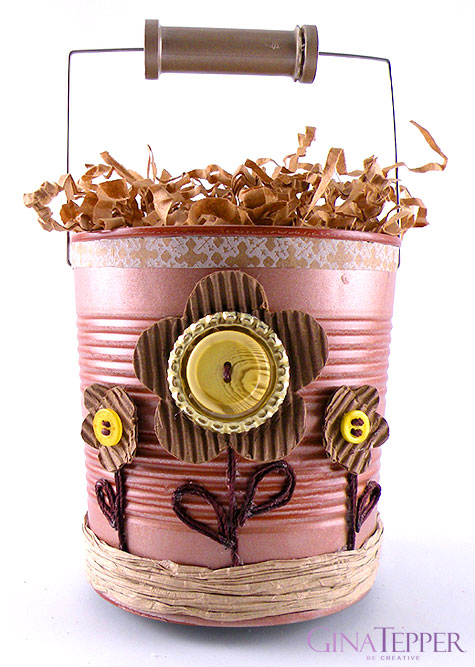
You can easily create beautiful DIY Tin Can Decorations with stuff you may already have around your house. Items that are normally discarded or thought of as trash can be easily transformed into pretty and very useful things. I love to repurpose items and turn them into something unexpected.
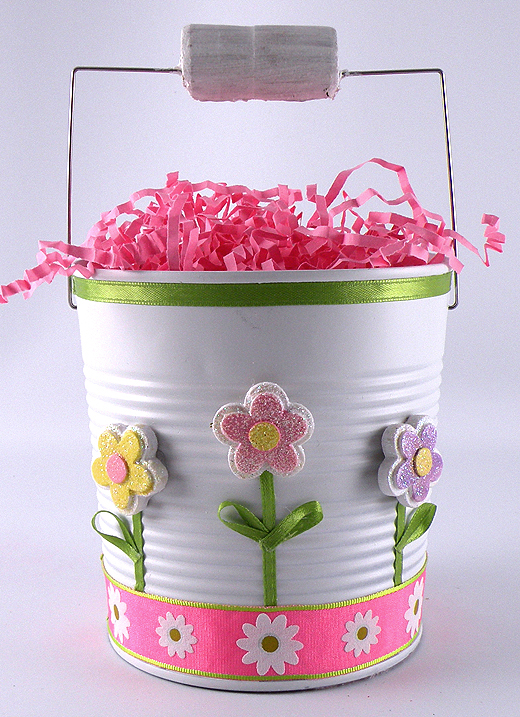
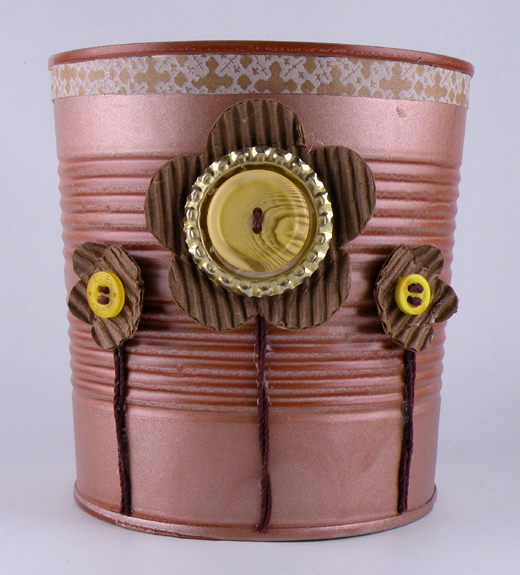
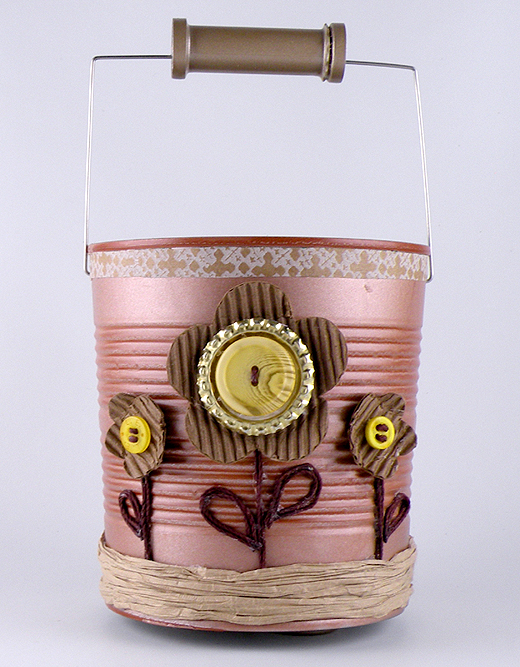
Everyone has little odds and ends lying around the house without a good place for them. One day, I was making marinara sauce and as I was smashing the top of the tin can to put in the recycle bin. I had the idea to make tin can decorations to store loose items. I created these stylish tin can decorations from all repurposed and recycled items. This design is so interesting and has a style that I could not have achieved if I had bought all the materials from the craft store. These finished tin can decorations can be used to hold flowers or for small items. You could also add some shredded paper to the tin can decorations and use it as a decorative pail instead of a gift bag or Easter basket.
Here is another DIY Tin Can Decoration with a Spring theme.
Click here to watch my Earth Day TV segment on News Channel 8 showing how I made this Tin Can Decoration and other repurposed crafts.
Please Subscribe to my YouTube Channel
I upload new DIY videos every week!
Repurposed Materials for DIY Tin Can Decorations
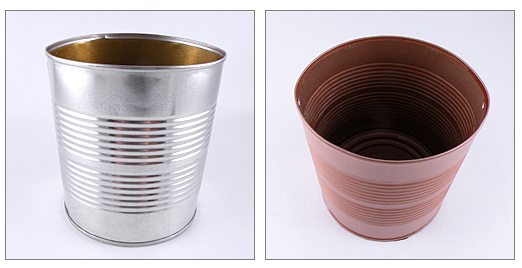
- 1 28oz food can – paper removed and cleaned
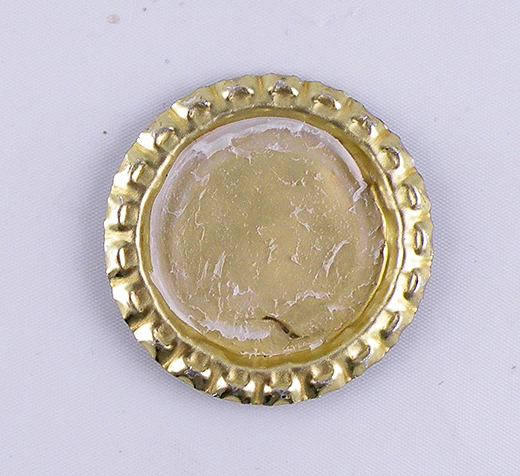
- 1 metal bottle cap (for the center of the flower)
- 3 water bottle caps (for the feet of the pail)
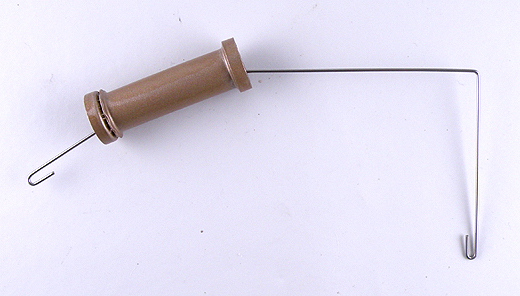
- 1 metal handle from a take-out container (for the handle of the pail)
- 3 loose buttons – 1 large and 2 small (for the center of the flowers)
- 1 paper shopping bag with an interesting pattern (for the decorative top border)
- 1 empty thread spool (for the center of the handle)
- cardboard coffee sleeve (for paper flowers)
Other Materials
- metallic craft spray paint
- bamboo twine
- scissors
- craft glue
- hot glue gun
- hammer
- needle nose pliers
How to Make DIY Tin Can Decorations
- Press together the top of the can with your hands to make the top into an oval shape.
- Make marks on opposite sides of the can, about ¼ inch from the top, where the handle will be inserted.
- Place the can on a hard surface and hammer a nail into each of the marked areas to make a hole.
- Spray paint the can, the spool and the water bottle caps and let dry.
- Bend out the fluted edges of the metal bottle cap with pliers. Place the bottle cap on a hard surface with the flat side down. Place a rubber cutting board on top of the cap and gently tap the edges to flatten.
- Cut out flower shapes from the coffee sleeve — one large enough to accommodate the bottle cap and two smaller flowers.
- Cut a strip of the paper bag ¼ inch wide and the length to wrap around the can.
Attach it to the top rim of the can with craft glue. Use a piece of the bag that has an interesting pattern. - Feed the twine through each of the buttons and glue or tie on the back. Glue the large button to the inside of the bottle cap with a glue gun and then attach it to the corrugated side of the flower cutout. Glue the small buttons onto the small flowers. Bend the petals inward towards the buttons.
- Using craft glue, attach a doubled length of twine to the center front of the can to make a stem. Glue the large flower to the flower stem. Repeat this process with the smaller flowers.
- Create small leaves with pieces of doubled twine.
- Cut a handle from the paper bag and untwist it to create a textured paper ribbon. Attach to the bottom rim of the can with craft glue.
Bend one section of the take-out handle out with your hands so you can side the spool to the center. Bend the handle back to its original shape. Apply hot glue to the inside of the spool where it meets the wire handle to lock it in place.
- With pliers, bend the hook ends of the handle out and insert the ends into the holes in the can. Bend the hooks back in to secure.
- For the feet, apply hot glue to the rims of the bottle caps and place evenly on the bottom of the can.

