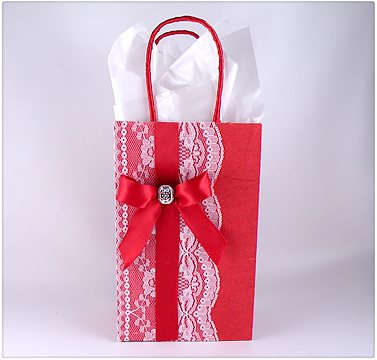
I love texture and using different elements on my gift bags. For this design I layered paper, ribbon and lace to make this beautiful Victorian gift bag. The materials I used are easy to find and it cost less than buying a gift bag but result is much more dramatic.
Difficulty Medium
Materials
- Red gift bag with stiff handles (plain gift bags are inexpensive and easy to find at your local craft or party store)
- Red scrapbooking paper
- Wide lace
- Jewelry slide or decorative bead
- White tissue paper with a sheen
- Craft glue
Instructions
- Cut a piece of the red scrapbooking paper the length and width of the front of the gift bag.
- Apply glue to the front of the gift bag and attach the piece of the scrapbooking paper to the front of the bag lining up the edges of the paper with the edges of the bag.
- Cut a piece of the lace the entire length of the front of the gift bag. Glue the lace to the left side of the front of the gift bag, lining up the edges of the lace and the bag.
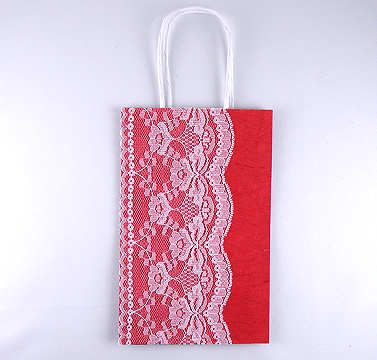
- Cut a piece of the red satin ribbon the entire length of the front of the gift bag. Glue the ribbon directly on the lace the centered between the edges of the lace.
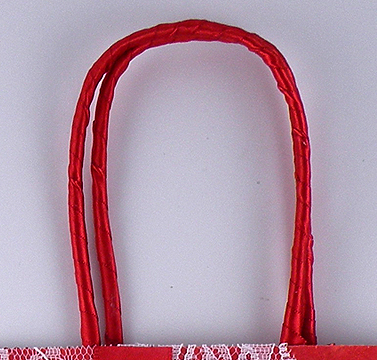
- To cover the handles, apply a small amount of glue to a few inches of the back of the red satin ribbon and wrap the ribbon around the handle where it meets with the inside of the bag.
- Continue to add small amounts of glue to the ribbon a few inches at a time to the handle, slightly overlapping the ribbon as you continue to wrap the ribbon around the handle.
- Finish by cutting the ribbon and gluing the end behind the handle where it meets with the inside of the bag. Repeat this process with the other handle
- To make the bow, cut an 18 inch piece of ribbon and create two evenly sized loops with the ends being the same length. Tie the loops together to form a bow. Adjust the loops so they are even with each other. Trim the ends to matching lengths, cutting them at an angle.
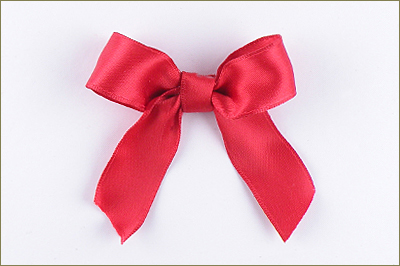
- Glue the bead onto the bow and attach to the front of the gift bag as shown.


